

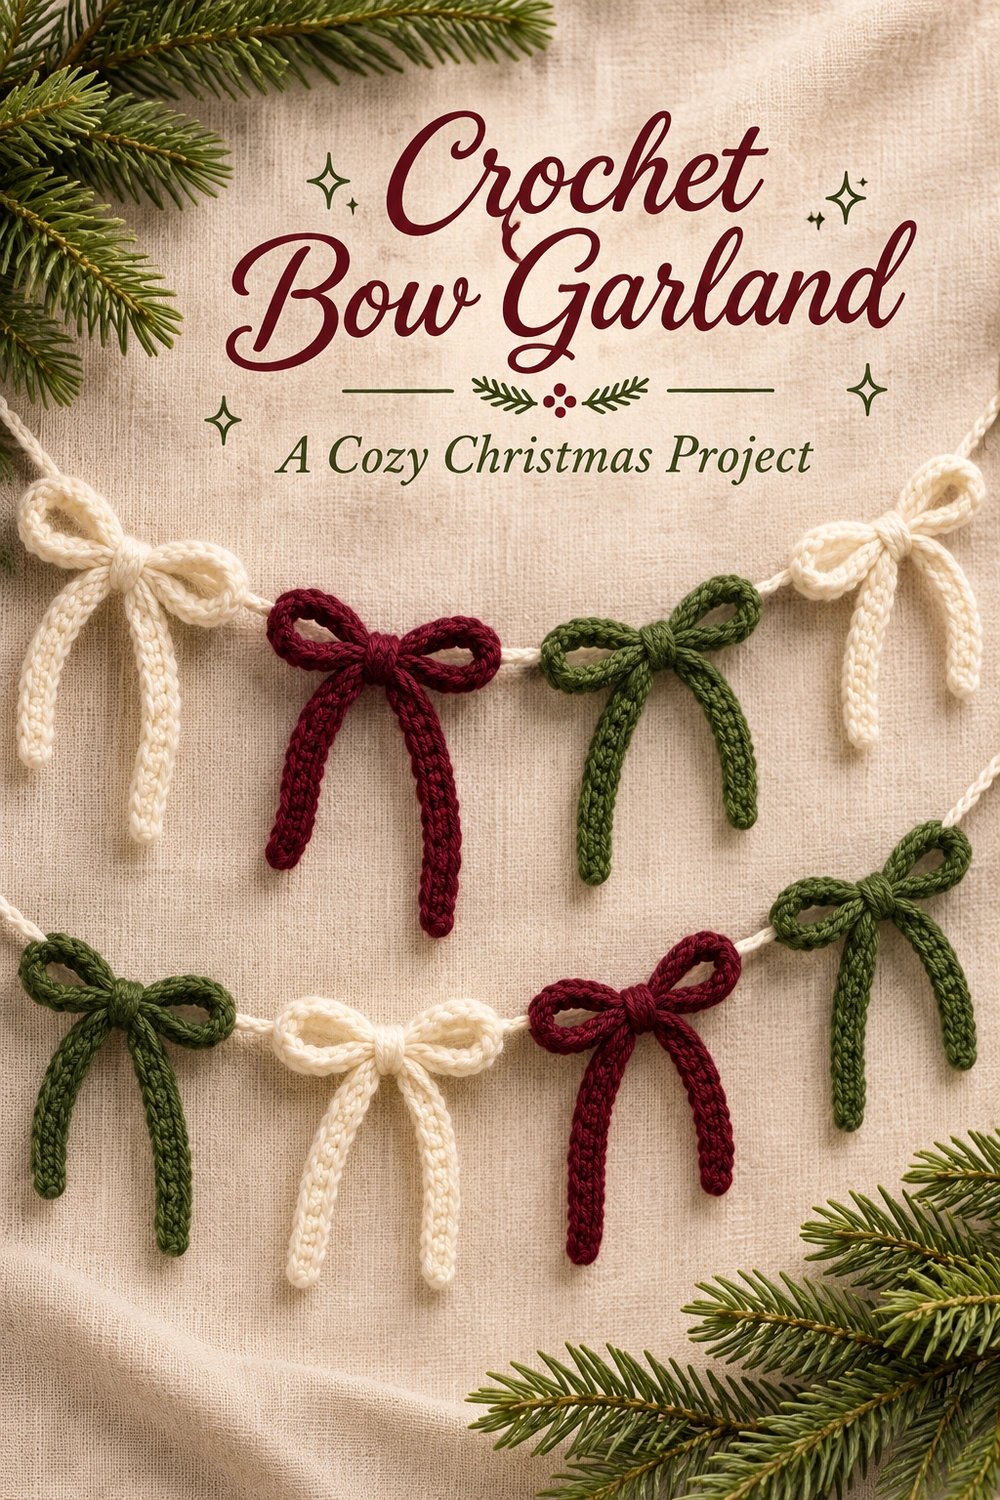
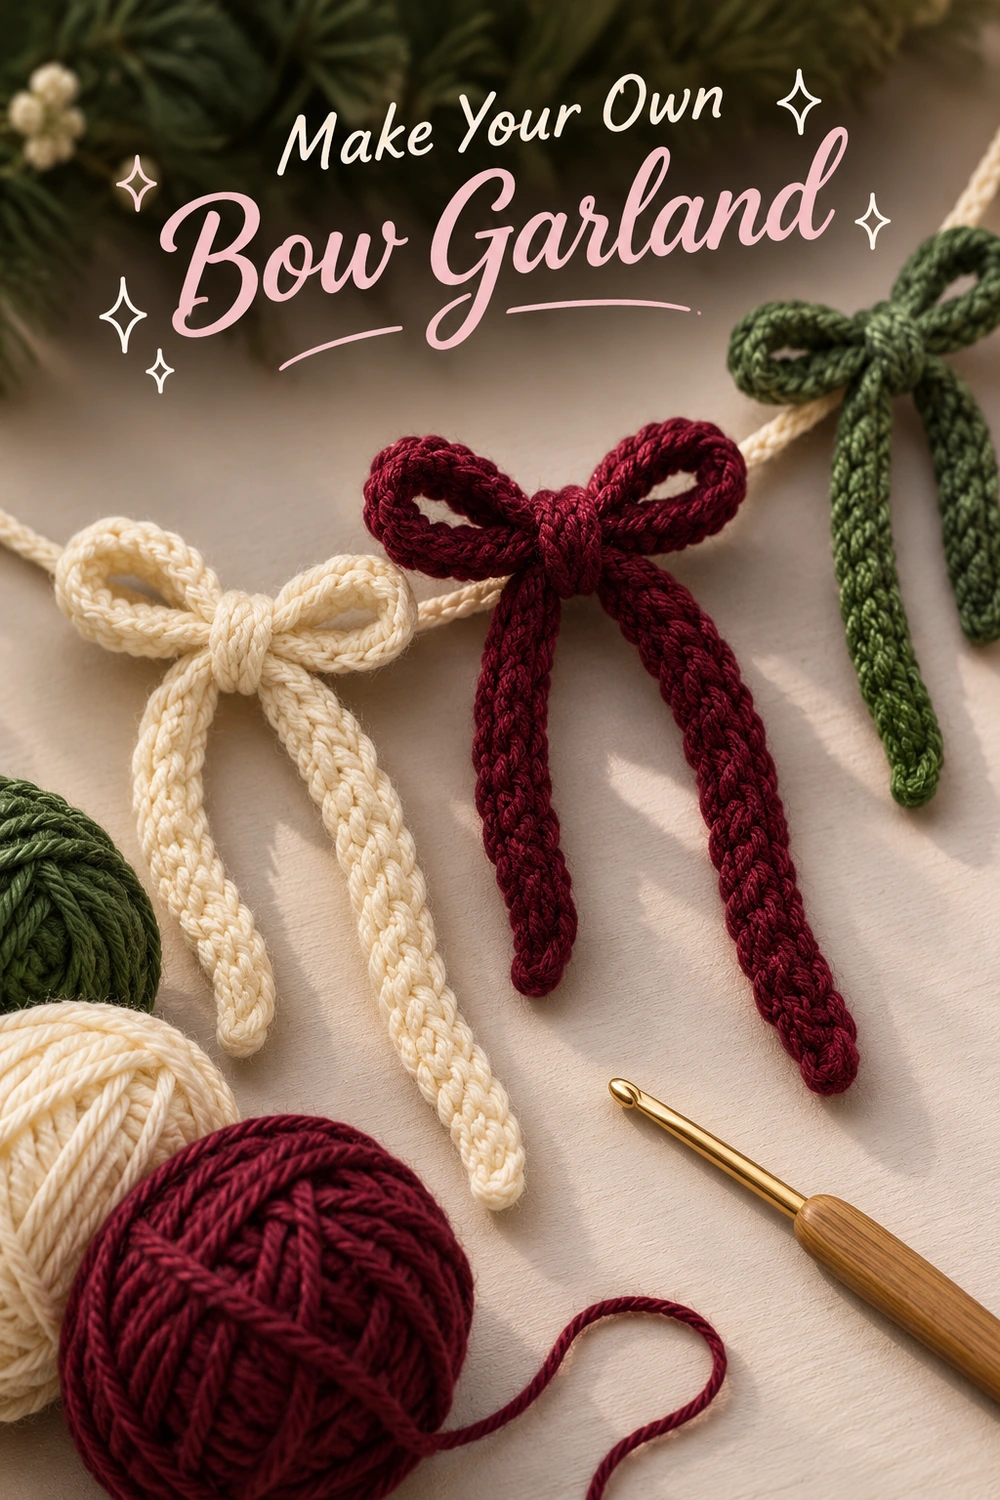
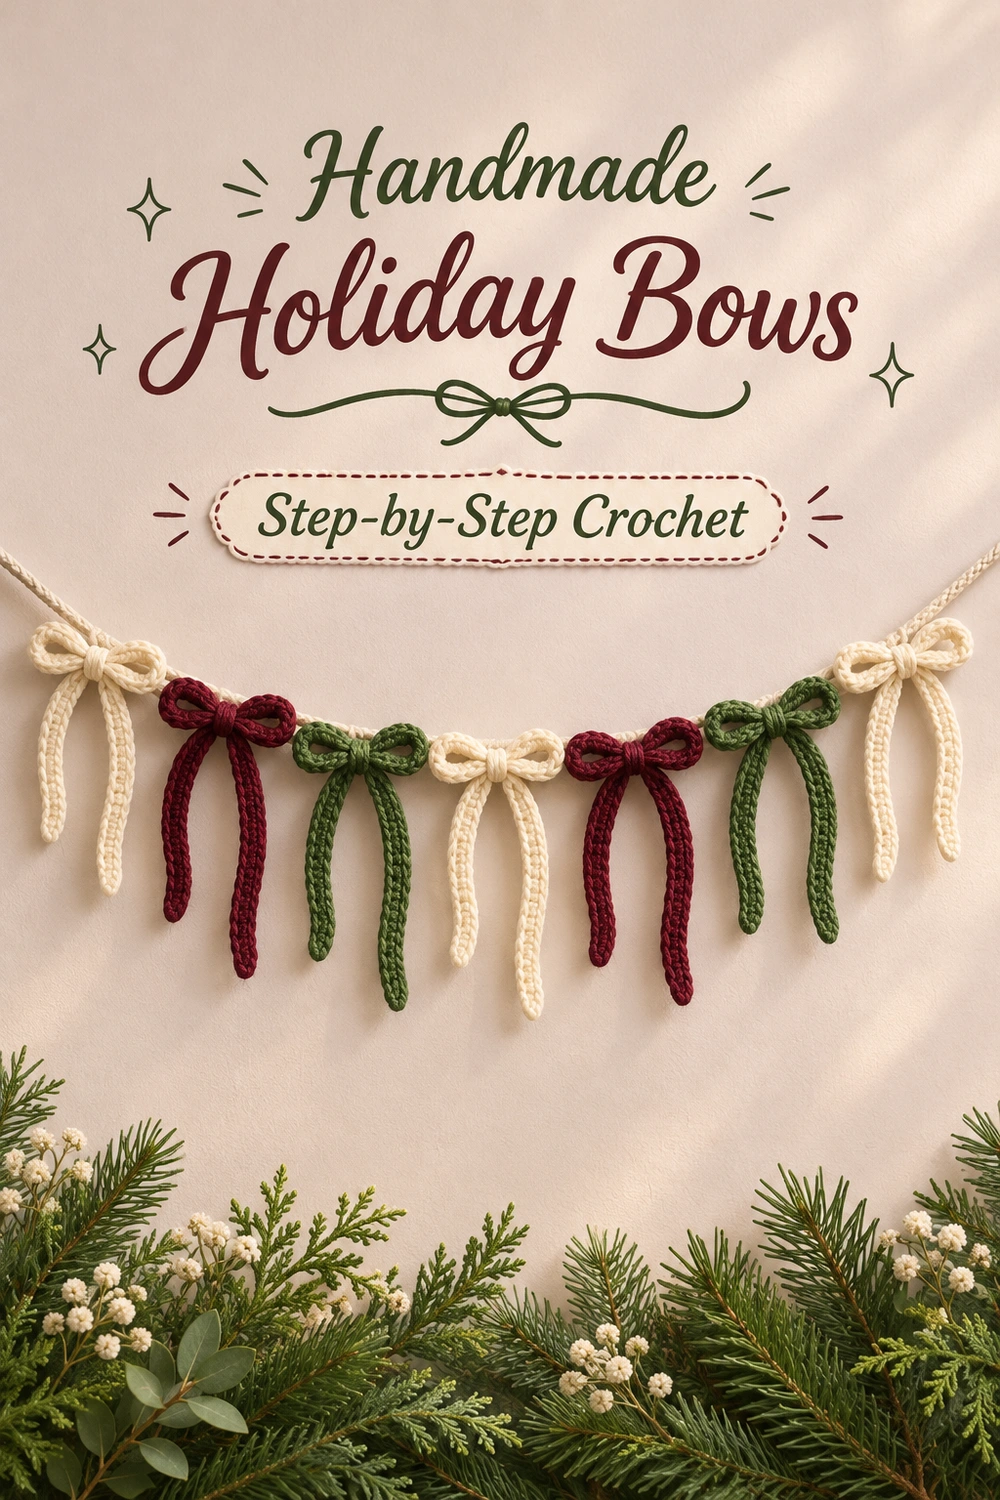
This Crochet Bow Garland Pattern turns narrow handmade ribbons into soft bows with long tails. Use ivory, burgundy, and forest green for the cozy holiday palette in the reference. Crochet each strip, tie and secure the bow, then attach the bows to a separate chain cord so their spacing is easy to adjust.
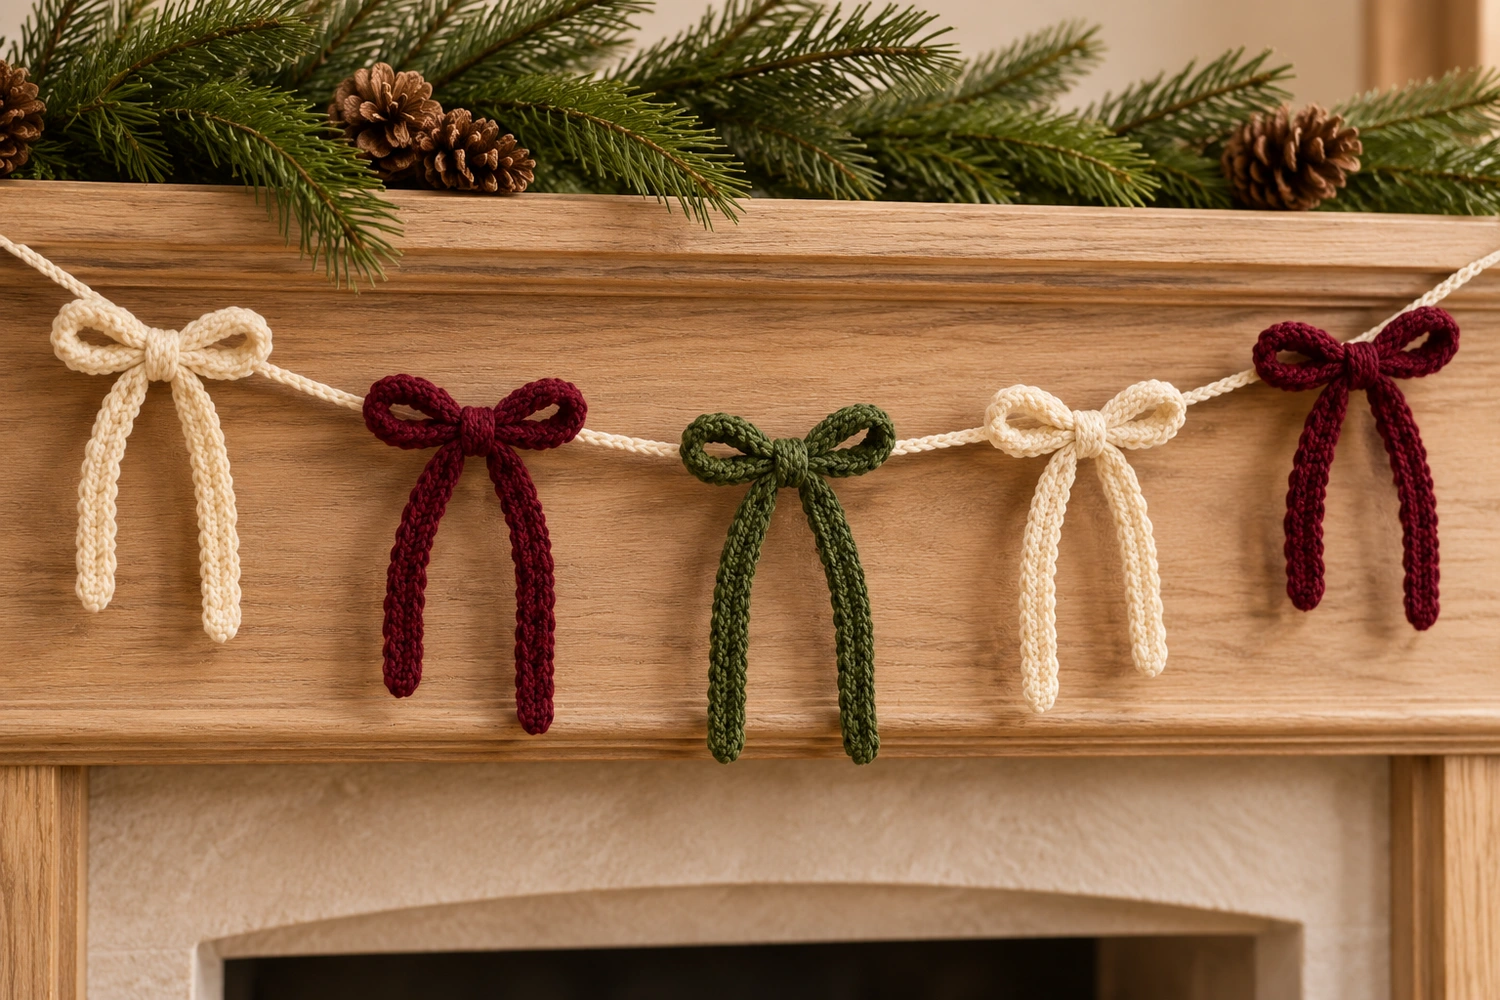
This is an image-inspired adaptation. The reference does not show the complete garland or reveal the original stitch counts, so the strip and connecting cord below are a practical reconstruction. The arithmetic has been checked, but a physical sample has not been crocheted. Dimensions and yarn quantities are estimates. The generated visual diagrams are schematic; follow the written instructions for counts and assembly.
Crochet Bow Garland: Materials and Project Size
- DK cotton or a soft cotton blend in ivory, burgundy, and forest green. For five bows and the cord, allow roughly 60–90 g total, with extra available for longer strips; consumption has not been sample-measured.
- A 3.5 mm hook as a starting point. Choose a hook that makes a supple ribbon that bends easily into a knot.
- A blunt yarn needle, scissors, tape measure, and five removable markers.
The sample plan is five bows on approximately 1 m of usable cord, excluding the two small end loops. Each bow uses a ribbon approximately 45–55 cm long. A tied bow may be roughly 10–13 cm across with 10–15 cm tails; these are targets to check while tying, not guaranteed measurements. Yarn, tension, ribbon length, and knot size all affect the result.
Skill level: beginner with some finishing practice. The basic ribbon uses two rows of half double crochet. Keep the same yarn weight and hook for every bow so they have similar scale. The chain cord may be ivory or green.
Crochet Bow Garland: US Terms and Stitch Definitions
Ch = chain; sl st = slip stitch; hdc = half double crochet; st = stitch. A turning ch 1 gives height only and does not count as a stitch.
To make hdc, yarn over, insert the hook into the indicated stitch, yarn over and pull up a loop, then yarn over and pull through all three loops. Work through both top loops on row 2 for a firm, even ribbon. For sl st, insert the hook, yarn over, and draw through both the stitch and the loop on the hook in one movement.
Work the ribbon back and forth in rows, turning once after row 1. No increases, decreases, or joined rounds are used. Count the actual hdc stitches, excluding the turning chain. Mark the first and last hdc if you tend to lose edge stitches.
Crochet Bow Garland: 1. Crochet One Bow Ribbon
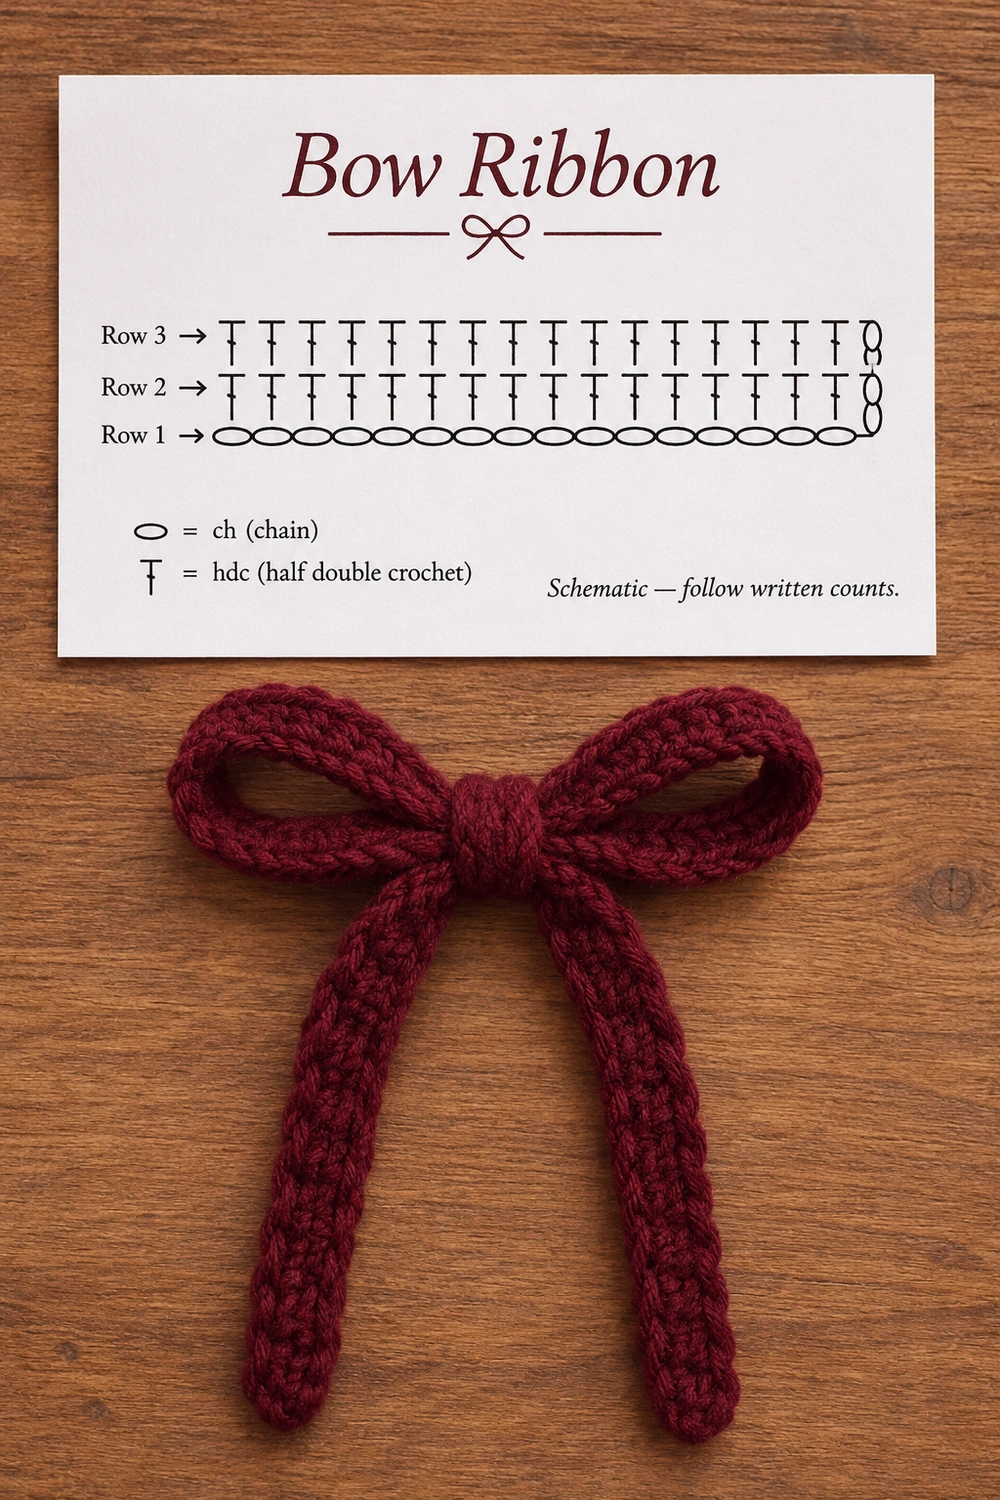
Leave a starting tail about 15 cm long. Ch 101 loosely. Lay the foundation chain flat before working into it. If the chain feels much tighter than the hdc fabric, remake it with a hook 0.5 mm larger, then return to the main hook for the rows.
| Row | Instructions | Finished count |
|---|---|---|
| Foundation | Ch 101; the chain nearest the hook provides turning height | 101 chains |
| 1 | Hdc in the second chain from the hook and in each remaining chain | 100 hdc |
| 2 | Ch 1, turn; hdc in the first hdc and every hdc across | 100 hdc |
After the last hdc of row 2, cut a 15 cm tail, pull it through the working loop, and tighten. Do not add a slip stitch across the short end or an edging around the strip: the two-row ribbon is complete. Weave each tail along the back of its own end for several centimeters, reverse direction once, and trim. Avoid making a thick lump at the ends.
Check the strip against the 45–55 cm target. If substantially shorter, make a longer foundation chain for the next attempt; if substantially longer, reduce it. This pattern has no stitch multiple: a foundation of N + 1 chains makes N hdc in each row. For example, ch 91 gives 90 hdc per row, and ch 111 gives 110 hdc. Keep both rows at the same count.
Crochet Bow Garland: 2. Prepare the Ribbon Before Tying
Lay the strip on a towel and smooth it without stretching. If the yarn label permits, lightly dampen it and let it dry flat. Keep both long edges parallel. A tiny amount of natural curling is normal and can disappear when the bow is tied; strong curling or a twisted ribbon usually means the foundation is too tight or a stitch was missed.
Find the midpoint by bringing the two short ends together, then place a removable marker at the fold. You will use the midpoint to keep the two tails similar in length. Remove the marker once the bow is shaped.
Crochet Bow Garland: 3. Tie the Bow With Two Loops and Long Tails
- Arrange the ribbon. Lay it across your hands with the midpoint centered and both ends hanging downward. Keep the ribbon’s broad surface facing forward rather than letting it twist into a cord.
- Make the first crossing. Cross the right end over the left near the midpoint. Pass it underneath and up through the opening, as the first step of tying a shoelace. Pull gently until the crossing is snug but still adjustable.
- Form the first loop. Fold the left ribbon section back on itself to make a loop roughly 4–5 cm long from the crossing to its folded tip. Leave the free tail pointing down. Hold the loop close to its base.
- Wrap the second side. Bring the right ribbon section around the front and then behind the base of the first loop. Fold a bight in that section and push the fold through the small opening behind the first loop. Push the folded section through, not the loose tail.
- Open both loops. Hold one folded loop in each hand and pull gradually to tighten the bow. Spread the crochet ribbon across the loop faces. Keep both loose ends below the knot.
- Balance the proportions. To enlarge a loop, ease ribbon from its tail toward the center; to lengthen a tail, ease ribbon back out of its loop. Alternate small adjustments between the two sides rather than pulling hard on a single tail.
A finished bow has two loops and two free tails. Aim for an overall width of approximately 10–13 cm, with the tails noticeably longer than the center knot. If there is not enough ribbon for both loops and long tails, remake a longer strip rather than tightening the center excessively. The bows in the reference are softly tied, not packed into rigid knots.
Crochet Bow Garland: 4. Secure the Center Without Flattening It
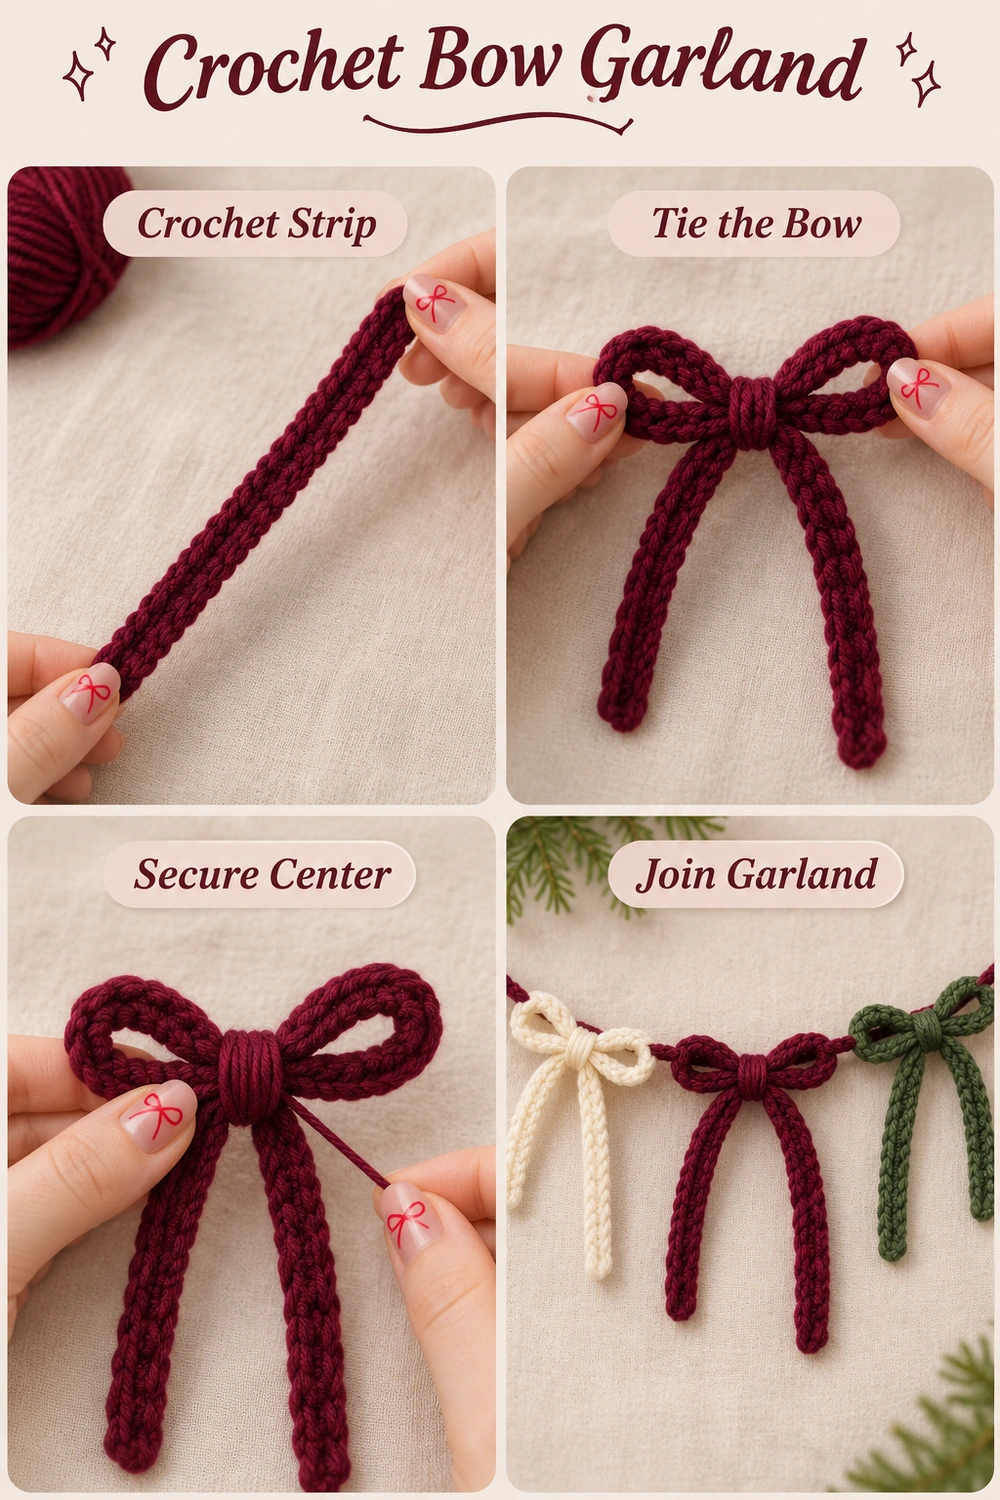
Cut approximately 35–45 cm of matching yarn. Thread it through the back of the bow’s center knot. Make two or three small sewing passes through the knot and the inner bases of both loops. Catch the crochet fabric without passing across the open loop interiors. These hidden stitches keep the bow from coming undone.
For a tidier center, wrap the remaining yarn around the center two or three times, gently rather than tightly. Secure the wraps with stitches on the back. The wraps should not pinch the entire bow into a hard thin waist. Weave the end into the knot and trim. Keep the two long tails free.
Test by lifting the bow from its center and gently moving each loop. If a loop slips, add another hidden stitch through its inner base. If one loop twists, loosen the center slightly and lay the ribbon flat before securing again.
Crochet Bow Garland: 5. Make the Remaining Bows
For the five-bow garland, make two ivory bows, two burgundy bows, and one green bow. A balanced arrangement is ivory, burgundy, green, burgundy, ivory. You can also repeat ivory–burgundy–green for a longer garland.
| Color | Number of ribbons | Foundation per ribbon | Rows per ribbon |
|---|---|---|---|
| Ivory | 2 | Ch 101 | 100 hdc, then 100 hdc |
| Burgundy | 2 | Ch 101 | 100 hdc, then 100 hdc |
| Forest green | 1 | Ch 101 | 100 hdc, then 100 hdc |
Use the first tied bow as a size guide. Lay later bows beside it and adjust the loops and tails before sewing their centers. If you changed the first ribbon’s stitch count to reach the desired length, use that adjusted count for all remaining ribbons.
Crochet Bow Garland: 6. Crochet the Connecting Cord and End Loops
Use ivory or green. Leave a 20 cm starting tail. Ch 8 and sl st into the first chain to form the first hanging loop. Keep that loop separate from the long chain that follows.
Ch 200 as a starting estimate for the main cord. Lay it on a flat surface without stretching and measure between the first loop and the hook. Add chains until the usable main cord is about 1 m, or undo chains if it is too long. The measured cord length is the guide; 200 chains does not give the same length with every yarn.
For the second end loop, ch 8 more. Sl st into the ninth chain from the hook: this is the final chain of the main cord immediately before those eight extra chains. Fasten off with a 20 cm tail. Weave the beginning and ending tails around their loop joins and back through nearby chains so the joins do not open under the garland’s weight.
The main chain can sag softly between fixing points, but should not be stretched taut. For a longer garland, decide the usable length first and crochet the main chain to that measurement before making the final eight-chain loop.
Crochet Bow Garland: 7. Space and Attach the Bows
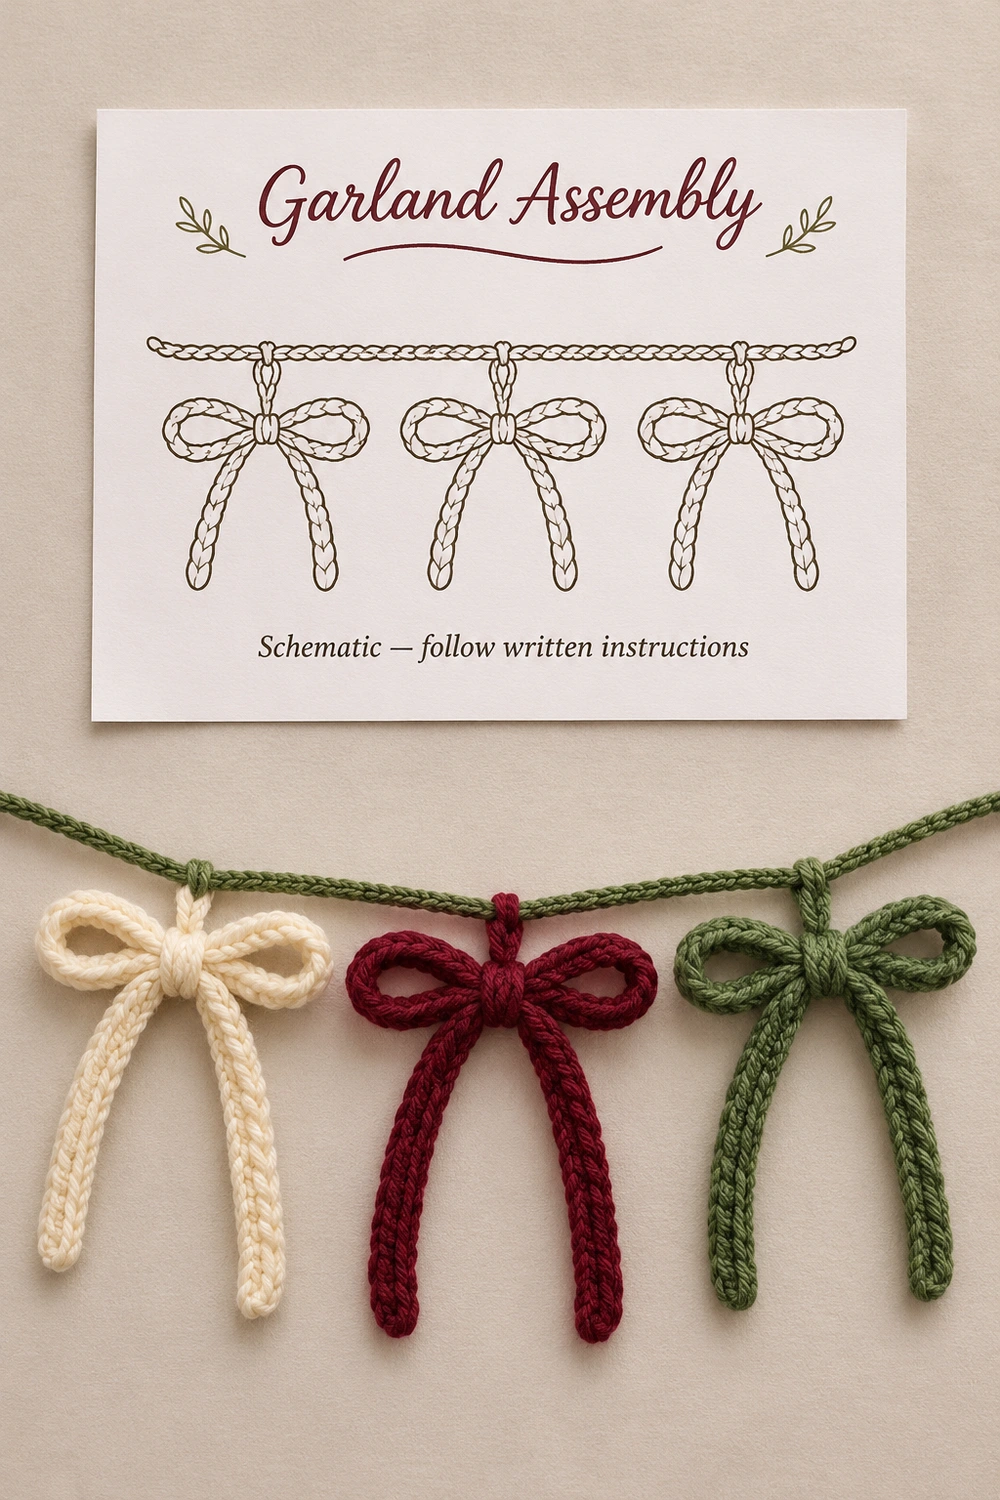
Lay the main cord straight on a table and mark positions approximately 10, 30, 50, 70, and 90 cm from the first loop on a 1 m cord. These five positions give 20 cm between bow centers and 10 cm clear at each end. Measure along the main cord only, excluding the end loops.
For another cord length L with five evenly spaced bows and equal end margins, place the centers at 0.1L, 0.3L, 0.5L, 0.7L, and 0.9L. Confirm that neighboring bow loops do not overlap excessively before attaching.
- Put each bow face down with its tails pointing toward the lower edge of the table.
- Lay the cord across the back of the center knot, slightly above its midpoint. This helps the tails hang downward.
- With a separate 25 cm length of matching bow yarn, make four or five small sewing passes through the back of the knot and around two adjacent cord chains. Do not catch the cord along a long section, which would stiffen the bow.
- Secure and weave in on the back of the knot. Turn the bow over and check that the connecting cord stays behind the center.
- Repeat for all five bows, keeping their fronts on the same side and the cord untwisted.
Lift the garland from both end loops and check the balance. If a bow rotates forward, move its attachment slightly higher on the back of the knot or add a small second tack. Arrange the tails with a soft natural curve. Do not sew the tail ends to the connecting cord.
Crochet Bow Garland: 8. Display, Care, and Useful Adjustments
Hang from secure supports using the two end loops. Add a discreet middle support behind the green bow if a long cord sags too much. Keep yarn decorations away from flames and heat sources, and keep the long cord out of reach of babies and young children.
My bow looks too stiff. Use a softer yarn or slightly larger hook on a new ribbon, preserving the two-row construction. Heavy stiff strips do not tie as smoothly.
The tails are unequal. Loosen the knot and feed small amounts of ribbon from the longer tail into its loop, then rebalance both loops before tightening again. Avoid cutting one finished tail shorter; the crochet row would unravel.
The ribbon has a narrow end. Check for 100 hdc in both rows. The first hdc of row 2 goes into the first actual hdc, and the last goes into the last actual hdc, not the turning chain.
Can I make a wider bow? Add a third row of 100 hdc, or use thicker yarn throughout. This changes the appearance and uses more yarn. For the narrow ribbon look of the reference, begin with the two rows specified.
How do I clean it? Follow the yarn label. If washing is permitted, wash gently, press out water in a towel, and dry flat with the loops and tails arranged. Do not hang the garland while wet. Reshape each bow after drying.
Crochet Bow Garland Visual Guide
The tutorial illustrates the strip, tied bow, secured center, and attachment. The tabletop charts are generated schematics for the ribbon and cord arrangement; the written instructions provide the construction counts and measurements.
Crochet Bow Garland: More Crochet Projects and Stitch Help
For another seasonal project, explore the Christmas tree doll crochet pattern. For US stitch terminology, consult the Craft Yarn Council crochet abbreviations.


