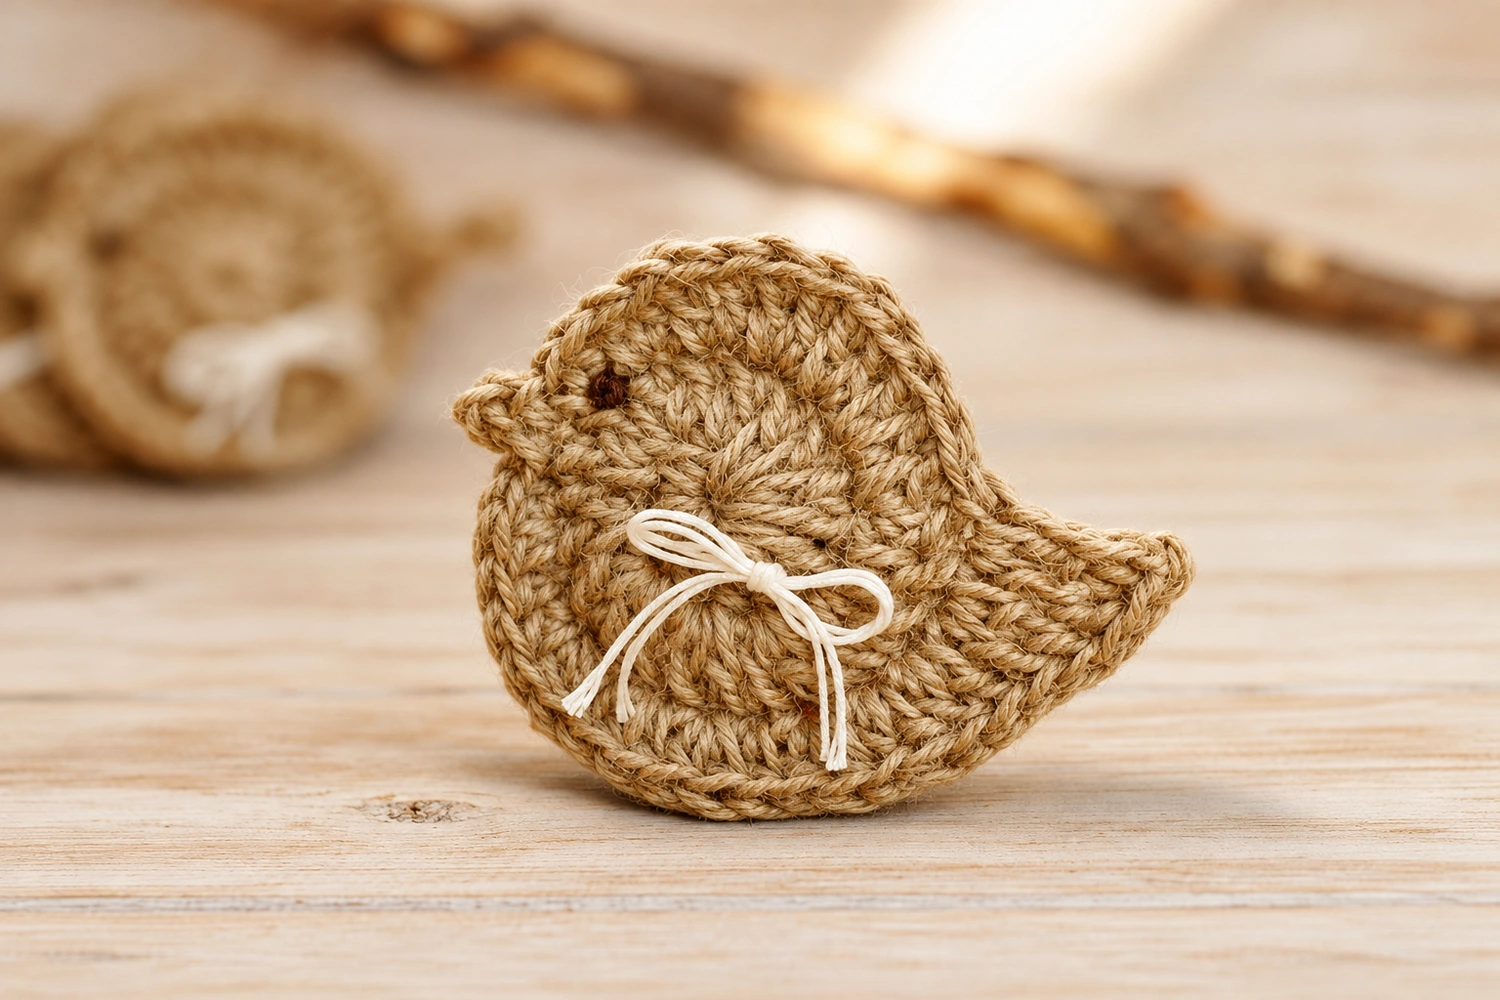
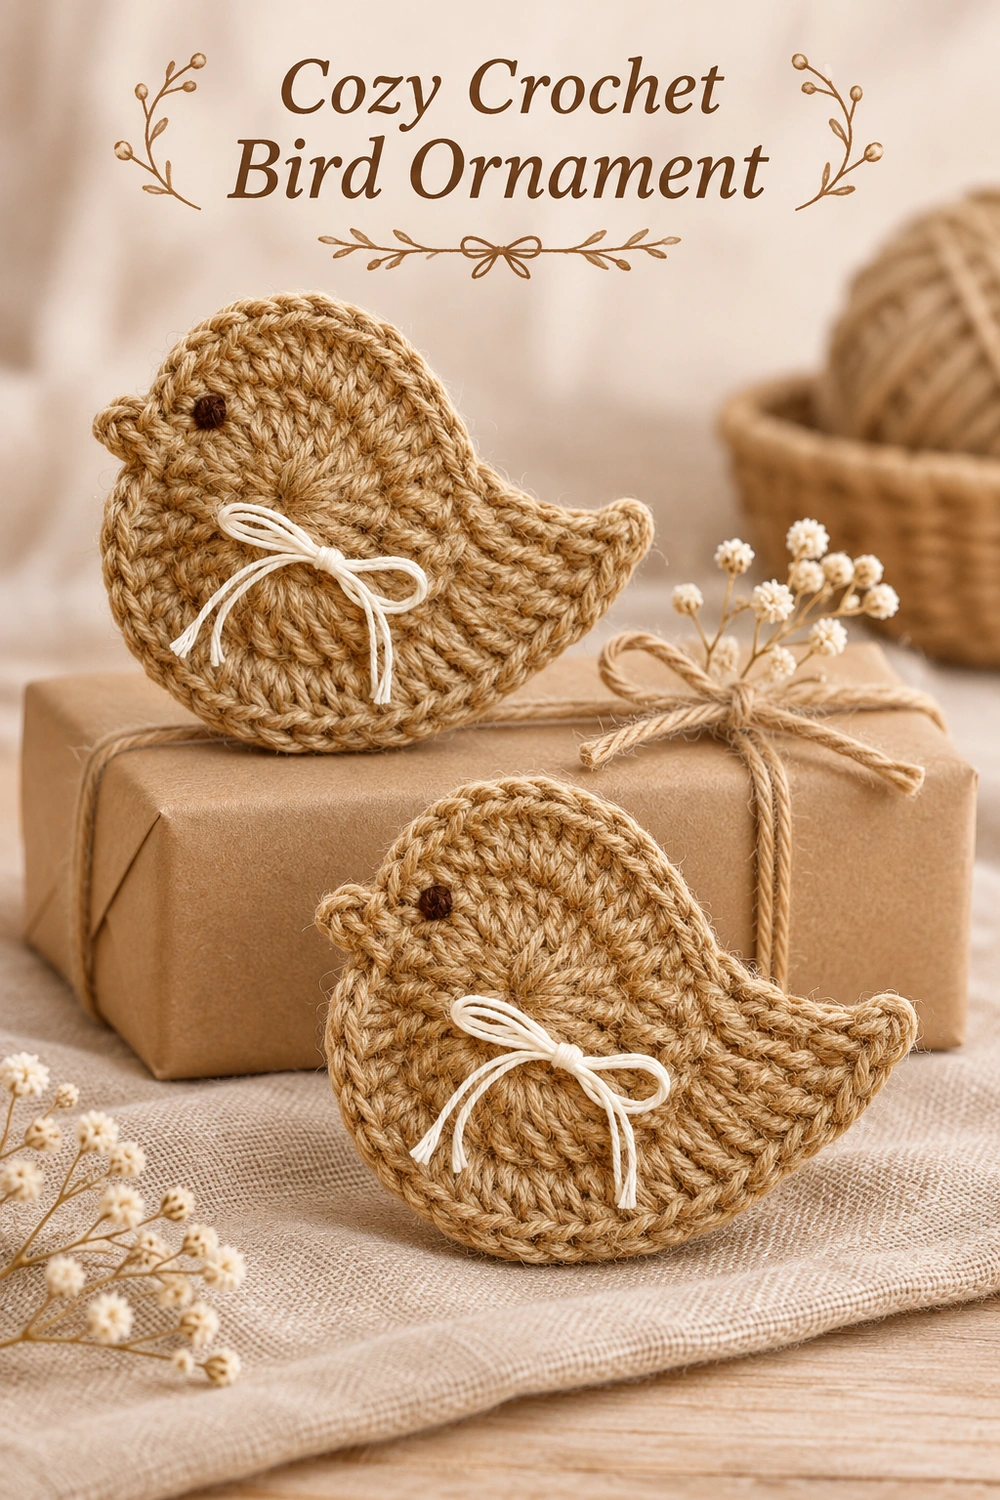
This Rustic Crochet Bird Ornament Pattern makes a small oatmeal-colored bird with a rounded body, a tiny beak, an uplifted tail, and a fine ivory bow. Two shaped side panels are sewn together with a thin layer of stuffing. The radial double crochet texture gives it the simple handmade character of the reference.
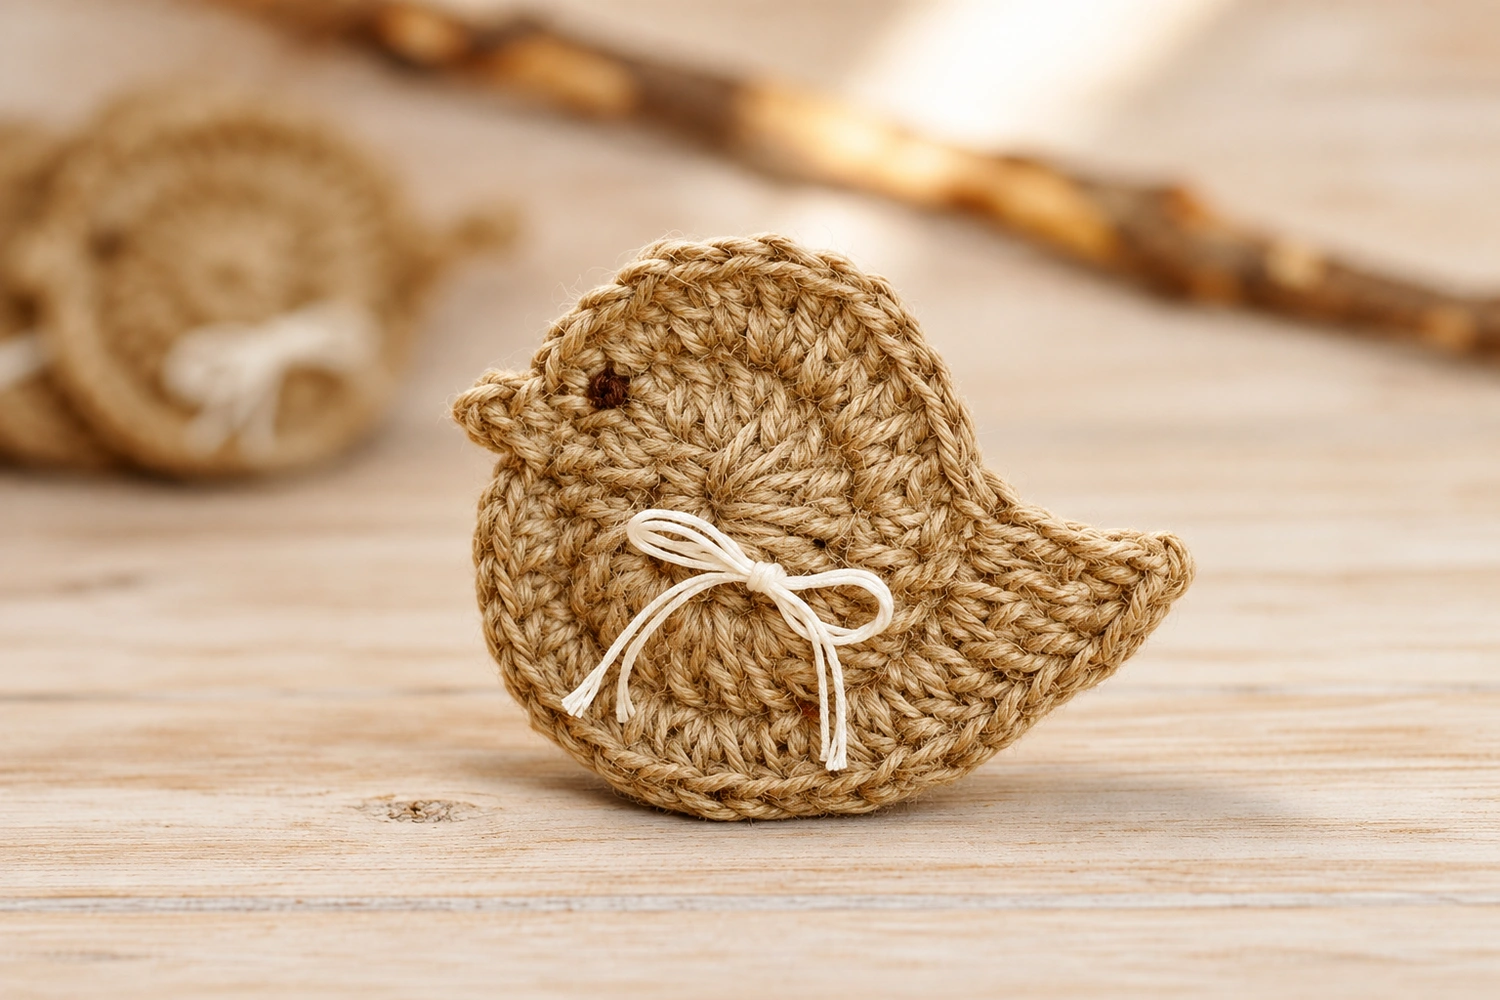
This is an image-inspired adaptation, not the original maker’s instructions. The stitch arithmetic has been checked, but a physical sample has not been crocheted. The photograph does not reveal its hidden construction, so the two-panel method is a practical interpretation. Dimensions and yarn quantities are estimates. The generated charts are schematic; use the written instructions for exact counts.
Rustic Crochet Bird Ornament: Materials and Size
- Approximately 15–25 g oatmeal or natural tan DK cotton, preferably softly textured rather than stiff garden twine.
- A 3 mm crochet hook as a starting point, a yarn needle, scissors, and removable stitch markers.
- A small amount of polyester stuffing, dark brown embroidery thread for the eye, and fine ivory cotton thread for the bow.
Estimated size is 8–11 cm from beak to tail, depending on yarn and tension. This is a planning estimate rather than a measured sample. Use a hook that makes firm but flexible double crochet. The decoration is lightly padded, not spherical. There are no legs or separately sewn wings in this version.
US Terms and Techniques
Ch = chain; sl st = slip stitch; sc = single crochet; hdc = half double crochet; dc = double crochet; dc2tog = double crochet two stitches together; inc = 2 dc in one stitch where specified. Counts exclude the beginning chains and joining slip stitches.
For dc, yarn over, insert the hook, yarn over and pull up a loop, then yarn over and draw through two loops twice. For dc2tog, make an unfinished dc in each of the next two stitches, leaving the last pull-through of each unworked; yarn over and draw through all three loops on the hook. This consumes two stitches and makes one.
The body circles use joined rounds with the right side facing throughout. Ch 2 at the start of a dc round does not count as a stitch. Join into the first actual dc, never the starting chain. Tail rows are turned. Make both panels with the same yarn, hook, and counts.
1. Crochet Two Body Circles
| Round | Instructions | Count |
|---|---|---|
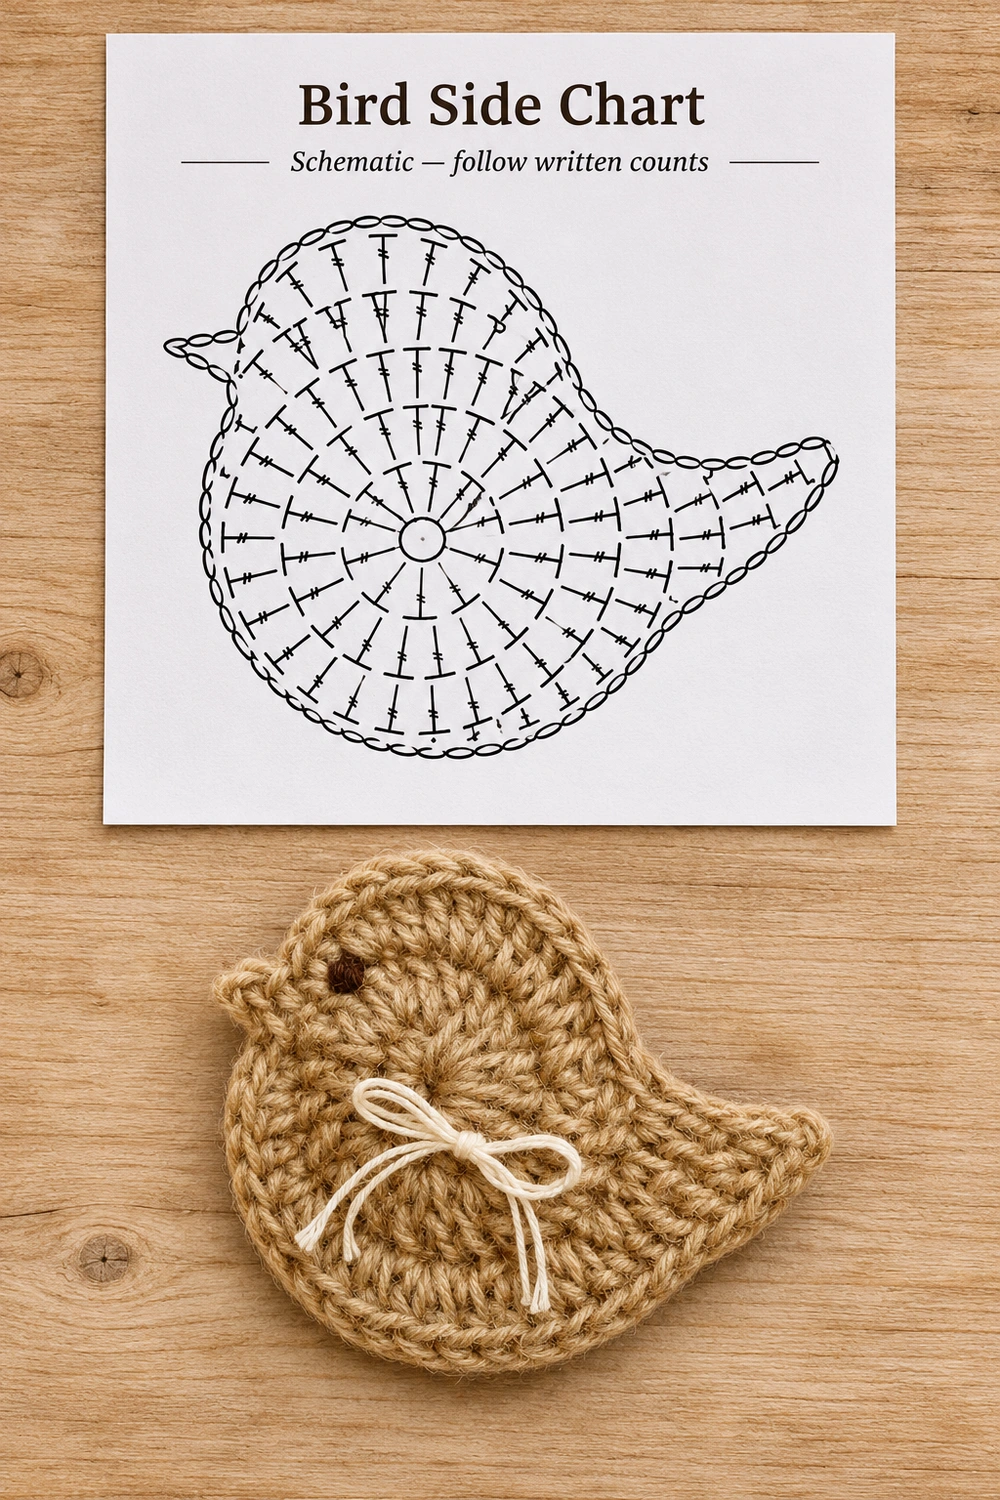
| 1 | Make a magic ring, ch 2, work 12 dc into the ring; pull closed and join to the first dc | 12 dc |
| 2 | Ch 2; 2 dc in every stitch; join to the first dc | 24 dc |
| 3 | Ch 2; [1 dc, 2 dc in next stitch] 12 times; join | 36 dc |
Fasten off after round 3 and weave in the ring tail securely. Do not add plain rounds, which would make the circle cup. Repeat for the second body circle. Smooth both circles and compare their diameters before shaping.
2. Mark the Head and Tail Positions
Lay the first circle with its right side facing you. Number the 36 stitches clockwise as viewed from the front, using removable markers as landmarks. Choose stitch 1 at roughly the 9 o’clock position, so stitches 1–8 curve upward around the upper-left part of the circle. The head bump is worked over those eight stitches.
Mark stitches 13–18 on the upper-right side for the tail foundation. These six stitches are separated from the head by stitches 9–12. Mark the first and last stitch of each section. The numbering is a placement map: it does not require the original round join to be at stitch 1. Keep the other stitches unworked until the outline step.
For the second circle, place it behind the first with wrong sides together. Transfer the four section markers directly through the aligned fabric, then separate the circles. The second panel must mirror the first when viewed from its own right side: its head belongs on the opposite side and its tail points the opposite way. This makes both right sides face outward after assembly.
3. Shape the Small Head Bump
On each panel, join tan at one end of its marked eight-stitch head section. Work toward the opposite marker. Because the sequence is symmetrical, either end can be the starting end on the mirrored panel.
Ch 1; work the following sequence into the eight old stitches, one instruction per old stitch: sl st, sc, hdc, 2 dc, 2 dc, hdc, sc, sl st. (10 new stitches) The fourth and fifth old stitches each receive two dc. Fasten off. This low rounded bump becomes the head; the circular body remains visible beneath it.
Lay the panels wrong sides together again and check that the head bumps overlap. If they appear on opposite ends of the assembled bird, the section transfer was not mirrored; correct the second panel before continuing.
4. Crochet the Tail on Each Panel
Join tan at one end of the six marked tail foundation stitches. Work toward the other marker. The small tapered extension grows away from the upper-right edge of the front panel and away from the corresponding mirrored edge of the back panel.
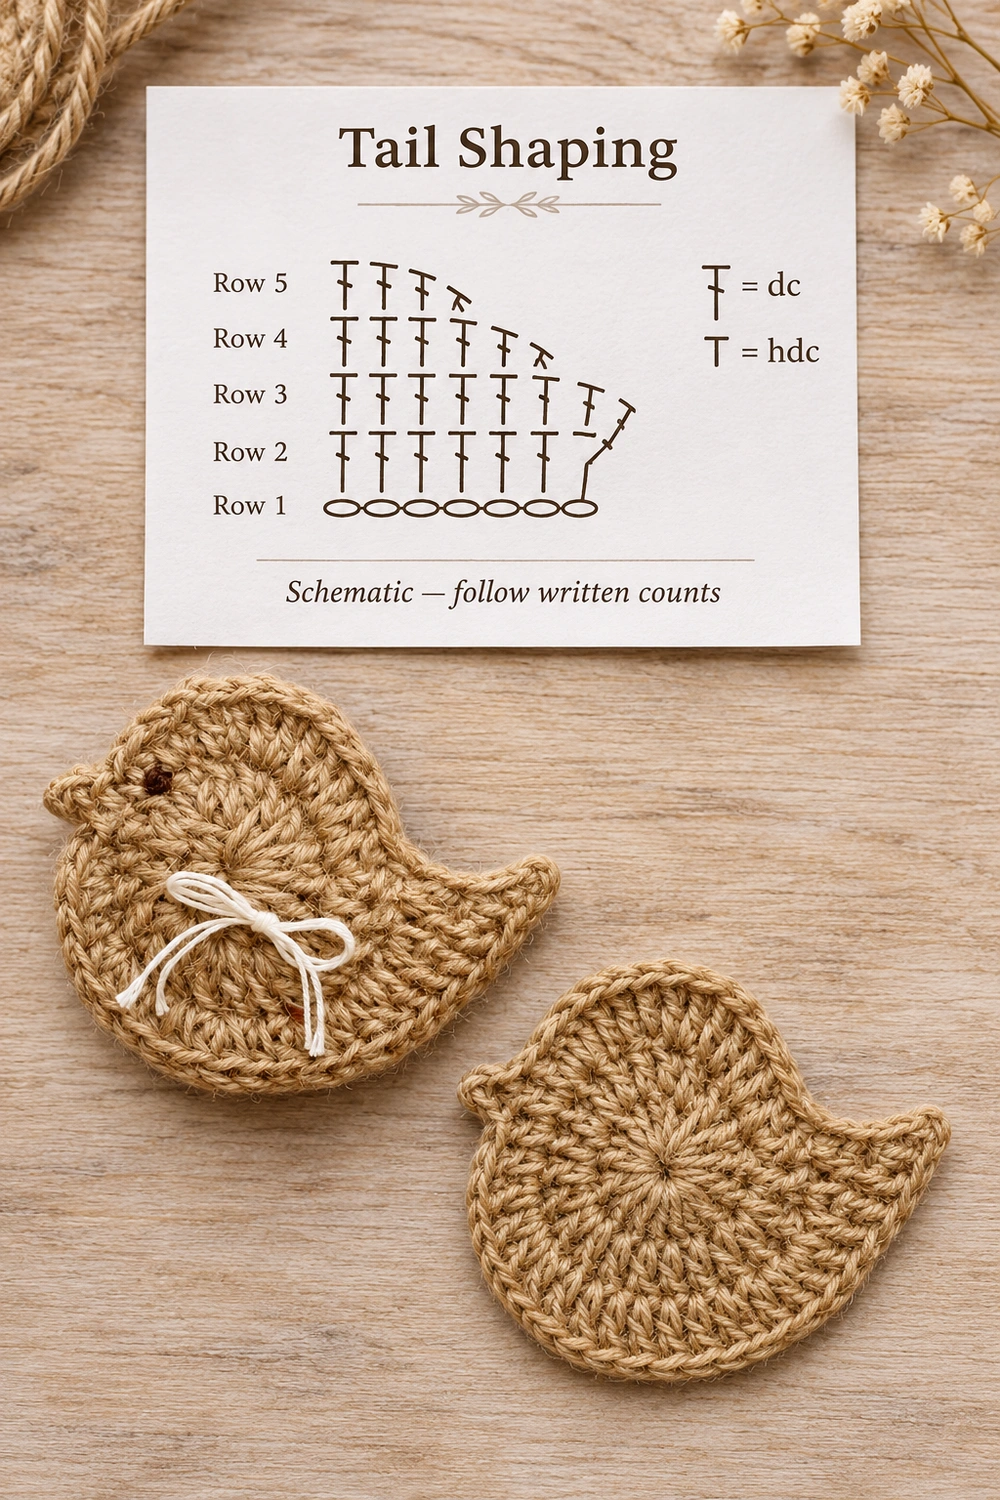
| Tail row | Instructions | Count |
|---|---|---|
| T1 | Ch 2; dc in each of the six marked body stitches | 6 dc |
| T2 | Ch 2, turn; dc2tog, 2 dc, dc2tog | 4 dc |
| T3 | Ch 1, turn; sc in first stitch, hdc in next two, sc in last | 4 stitches |
Fasten off. This produces a short tail with a narrow softly rounded tip. Shape it slightly upward when blocking rather than pulling it horizontally out of the bird. Repeat on the other panel and check the two tail outlines together.
5. Work an Outline Around Each Panel
With the right side facing, join tan at the lower center of the body, away from the head and tail. Ch 1 and work around the full silhouette. The outline replaces the covered body sections: never work along the original body stitches underneath the head or tail extensions.
- On an exposed round-3 body stitch, work 1 sc through both top loops.
- Across the head bump, work 1 sc in each of its ten new stitches, including the two end slip stitches. The slip stitches may be tight; insert the hook carefully without splitting the yarn.
- At a head or tail join, work one relaxed sl st into the junction if needed to close a visible gap. Use the same treatment on both panels.
- Along each dc row-end of T1 and T2, work 2 sc around the post. Along the short end of T3, work 1 sc.
- Across the four tail-tip stitches of T3, work 1 sc in each, adding ch 1 between the middle two sc to soften the turn at the tip.
Join to the first sc with a sl st. Fasten off, leaving a 60–80 cm sewing tail on one panel. The edging count depends on the optional junction stitches, so compare the panels directly: corresponding body stitches, head stitches, tail row-ends, and tip stitches must line up. Avoid extra stitches that produce ruffles.
6. Add the Tiny Beak
Cut approximately 25 cm of tan yarn. Attach it to the outlined edge at the front of the head, just below the upper curve and above the body midpoint. Ch 3; sl st into the second chain from the hook, sc in the remaining chain, then sl st back into the attachment point. Fasten off with a sewing tail.
This tiny triangular tab points outward from the head toward the left on the display side. Make a matching tab on the mirrored panel, transferring its exact location while the two panels are aligned. During joining, sew the two tabs together with a few small stitches; do not put stuffing in the beak.
7. Embroider the Eye Before Joining
Position the eye inside the head area, approximately one stitch width behind the beak attachment and slightly above it. Pin or mark the position first. Use dark brown thread to make two or three tiny overlapping stitches forming a small dot, roughly 2–3 mm across. Do not pull tightly enough to dent the panel.
If the bird will be seen from both sides, embroider a second eye at the mirrored position. Secure the thread ends on the wrong side and weave them through nearby stitches. The eye must remain above and behind the beak rather than on the center of the round body.
8. Join the Panels and Add Light Padding
- Place the two panels wrong sides together with the right sides facing out. Align the head, both tail corners, the beak tabs, and the lower body. Use markers to keep these landmarks together.
- Thread the long tan sewing tail. Begin at the lower body and whipstitch through both loops of corresponding outline stitches. Keep the seam relaxed so the edge remains rounded.
- Work around the head, joining the beak tabs with small stitches as you reach them. Continue around the back and tail. Match tail row-end stitches directly instead of stretching one panel to fit the other.
- Leave an opening approximately 2–3 cm wide along the lower body. Add small wisps of stuffing through this gap. Keep the head lightly filled and the tail nearly flat.
- Spread a thin even layer through the body so the side panels are gently domed. The bird should retain a flat side profile, with a softly padded middle rather than a ball shape.
- Hold it from the top and check the silhouette. Add or remove stuffing before closing. Complete the remaining seam, secure the yarn, and bury the tail inside the body.
Do not pack stuffing behind the eye or into the beak. If the tail droops, first check that its two sides are joined evenly; overfilling the body can pull the tail out of alignment.
9. Tie and Secure the Fine Ivory Bow
Cut approximately 30–35 cm of fine ivory cotton thread. Tie a small bow with two loops and two loose tails. Adjust the loops to roughly 1–1.5 cm long and the tails to about 2–3 cm, scaling them to the finished bird. Trim only after the bow is secured.
Place the bow on the display side near the body center, a little below the head. With a separate fine ivory sewing strand, stitch through the bow’s center knot and into the outer crochet panel two or three times. Keep the loops and tails free. Add a small stitch through the inner base of each loop if the knot slips. Do not pass the sewing thread all the way through the opposite panel, which would flatten the body.
10. Shaping, Display, and Care
Before assembling, the flat panels can be lightly damp-blocked if the yarn label permits. Pin their bodies into matching circles and lift the tail tips slightly upward. Dry completely before stuffing. After assembly, shape by hand rather than soaking the ornament.
The reference is a small decorative bird without a visible hanging loop. To make it hang, sew both ends of a 15–20 cm tan cord behind the upper back, between the head and tail. Test the balance before securing: move the attachment slightly toward the heavier end if the bird tips. Use a display support if it does not stand independently; a rounded sewn ornament is not guaranteed to balance on its own.
My circles cup. Check 12, 24, and 36 dc and exclude the starting chain from the count. Missing increases cause cupping. If counts are correct, try a slightly larger hook on a new panel.
The two sides do not match. Check the mirrored markers before seaming. Both panels need the same eight-stitch head section, six-stitch tail section, and outline treatment.
The stuffing shows. Remove some padding. For a new version, use a smaller hook or add a thin fabric liner inside each body panel before joining. A liner is an optional finishing choice, not included in the basic construction.
The bird looks too round. Reduce the stuffing and spread it toward the edges. Keep the tail and beak flat and leave the side panels only gently domed.
Dust gently or spot-clean according to the yarn label. Keep the small bow and any optional loop out of reach of babies and young children; this pattern is intended as a decoration.
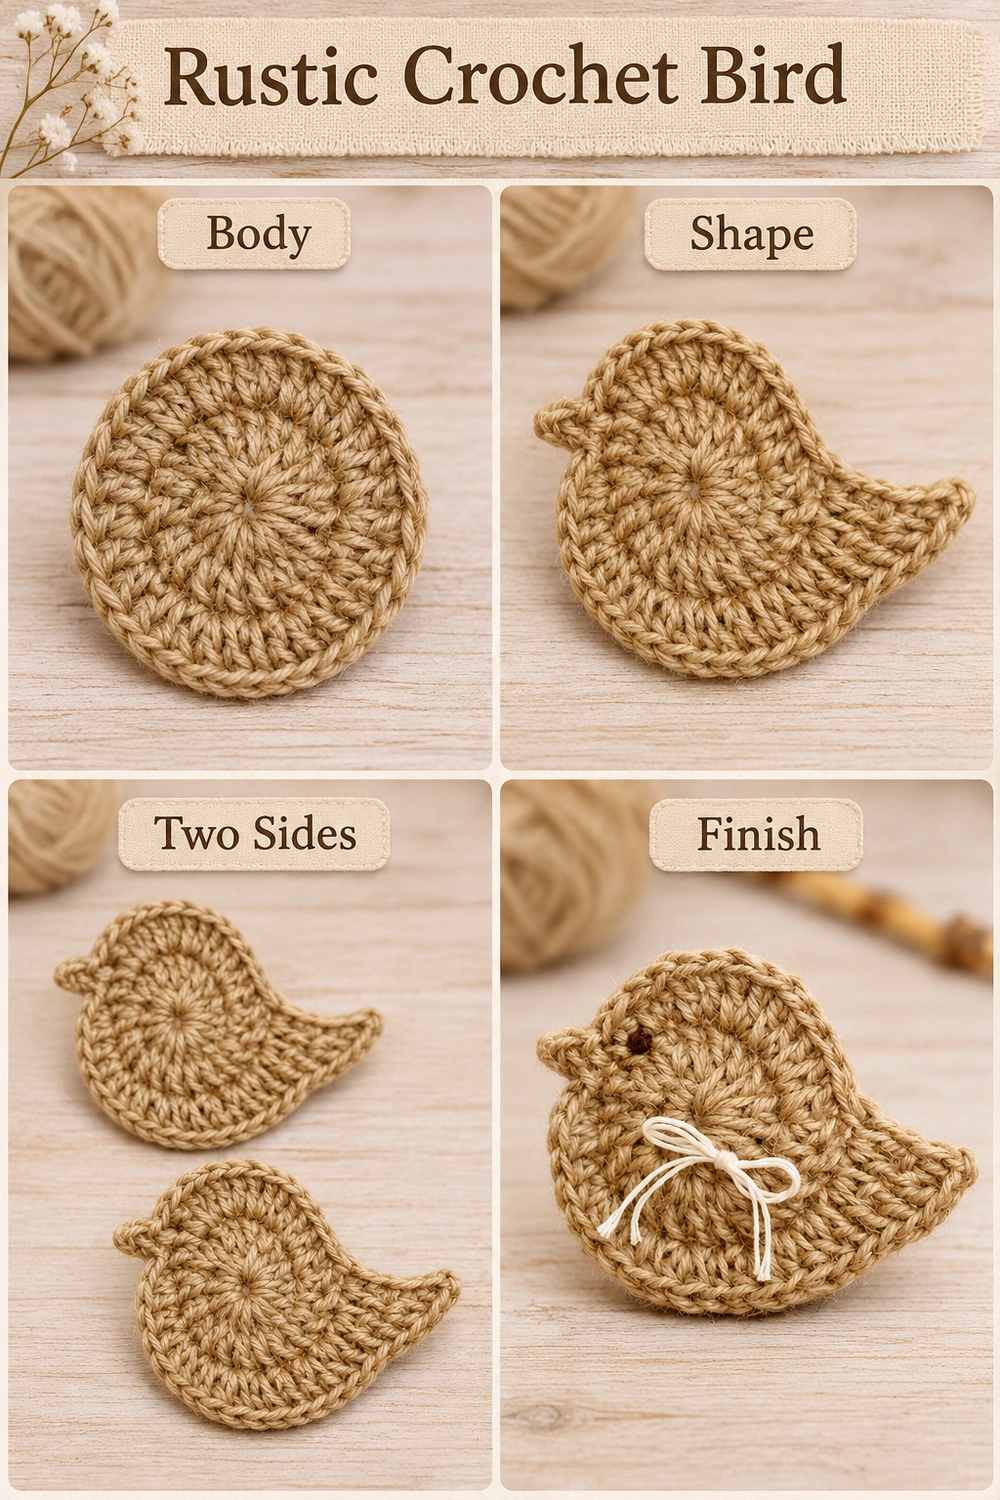
Rustic Bird Visual Guide
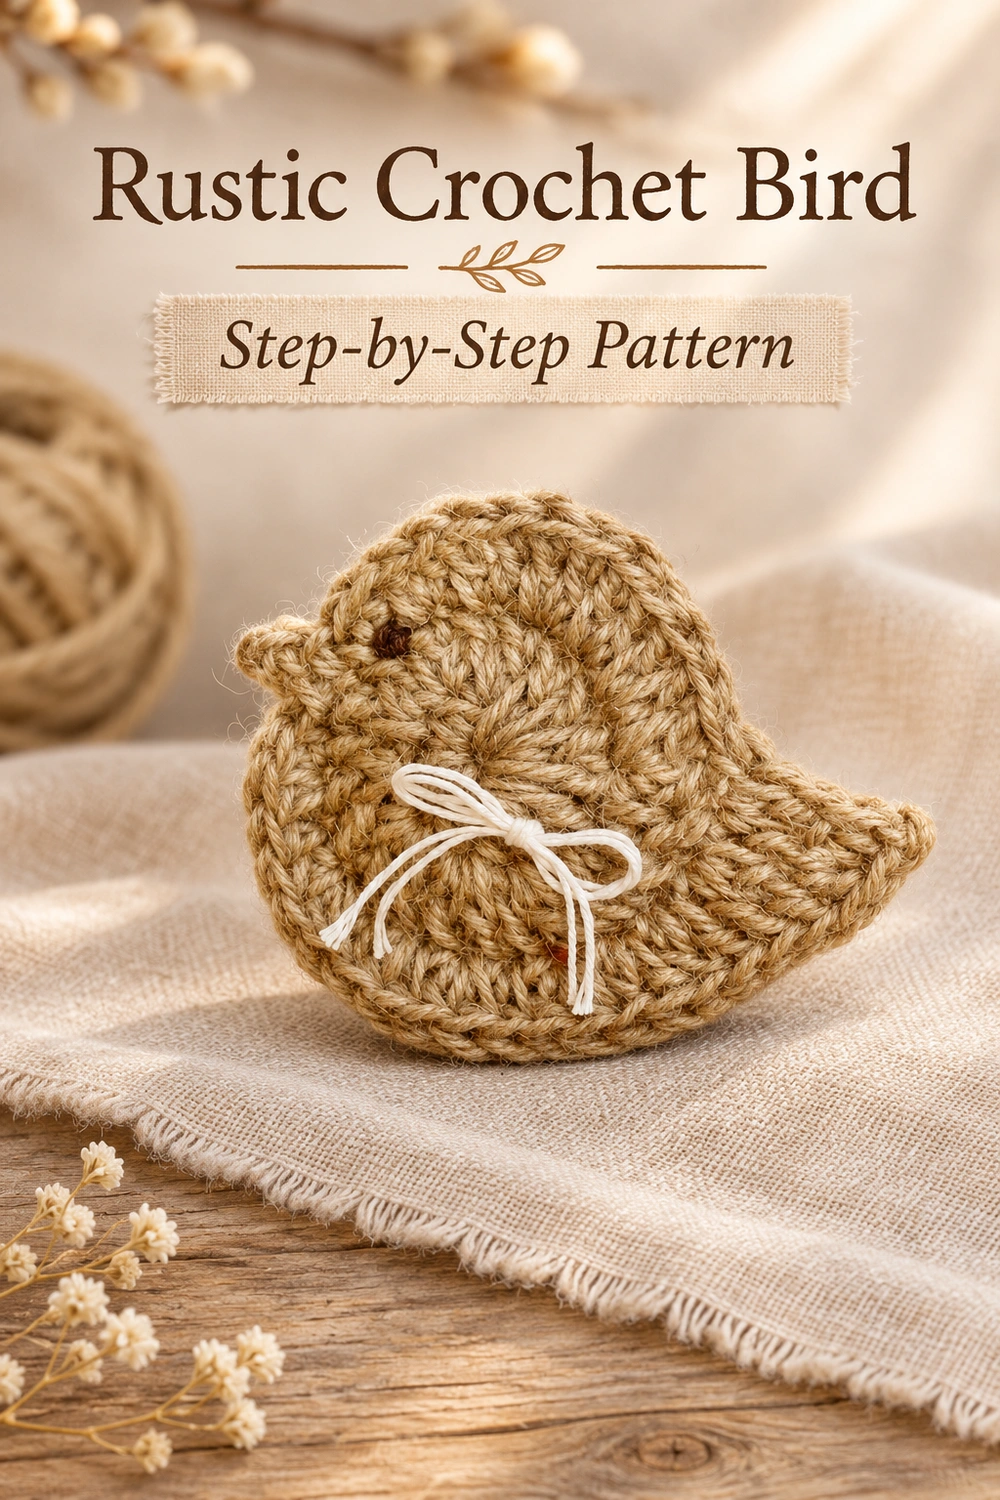
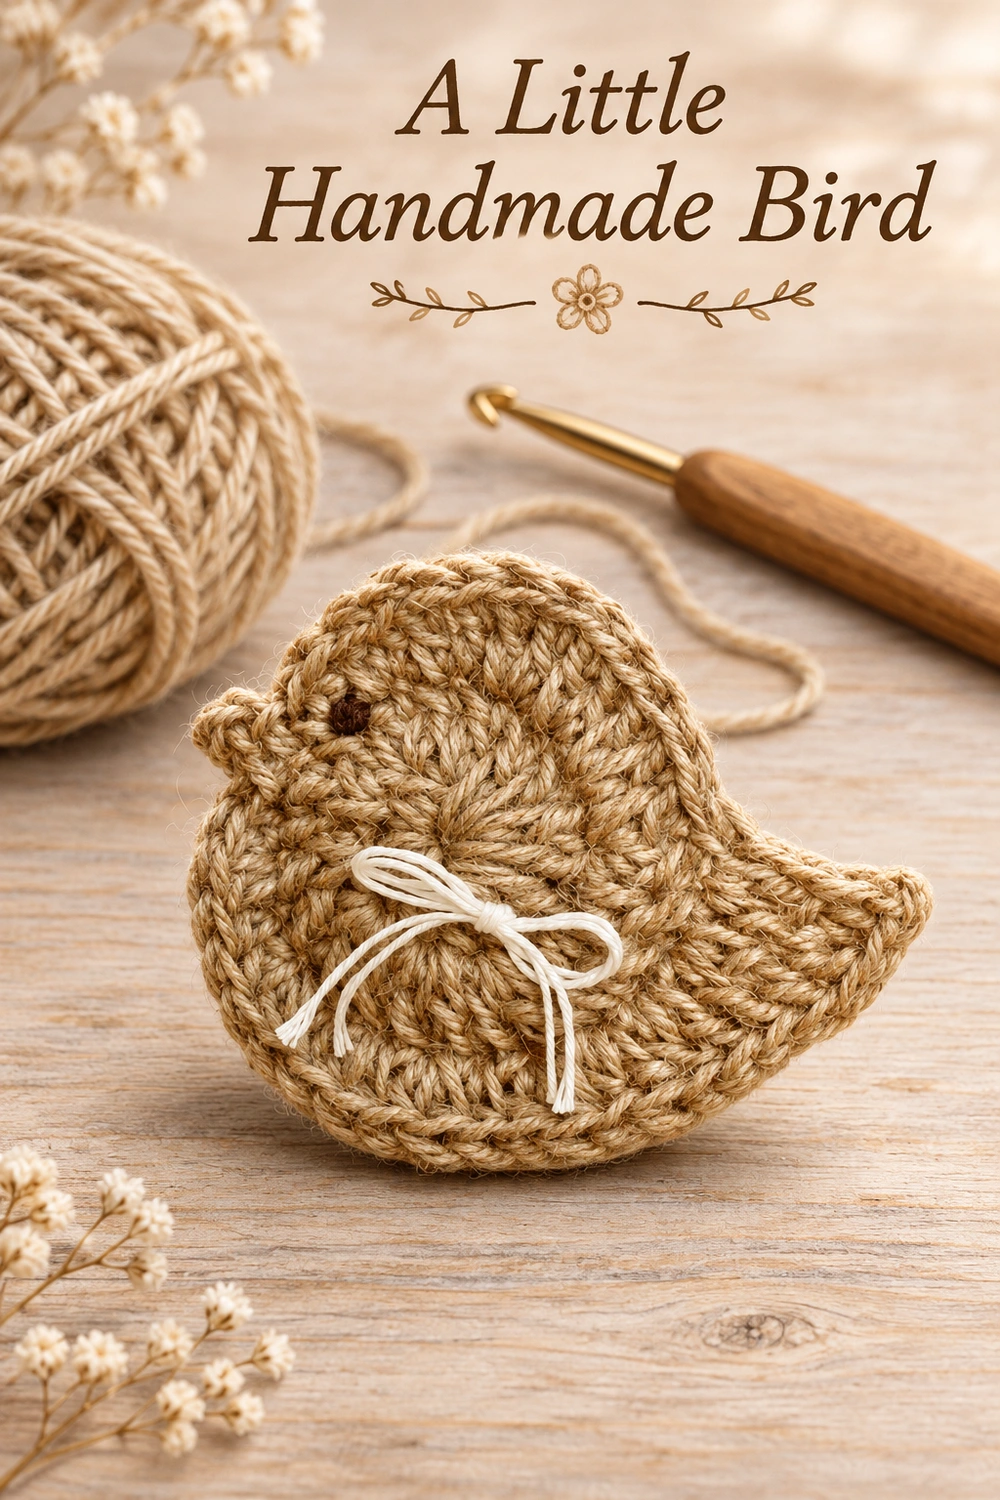
The images show the construction stages and rustic color palette. Both tabletop charts are generated schematics. Use the written counts and mirrored-panel placement instructions above when making the bird.
More Crochet Projects and Stitch Help
For another holiday decoration, try the crochet bow garland. For US stitch terminology, consult the Craft Yarn Council crochet abbreviations.