This Stepped Granny Christmas Tree Crochet Pattern makes a flat green tree with four branch tiers, little open spaces, and a short matching trunk. Three-double-crochet groups form the fabric. At the beginning of each new tier, you move inward before widening again, creating the stepped outline.
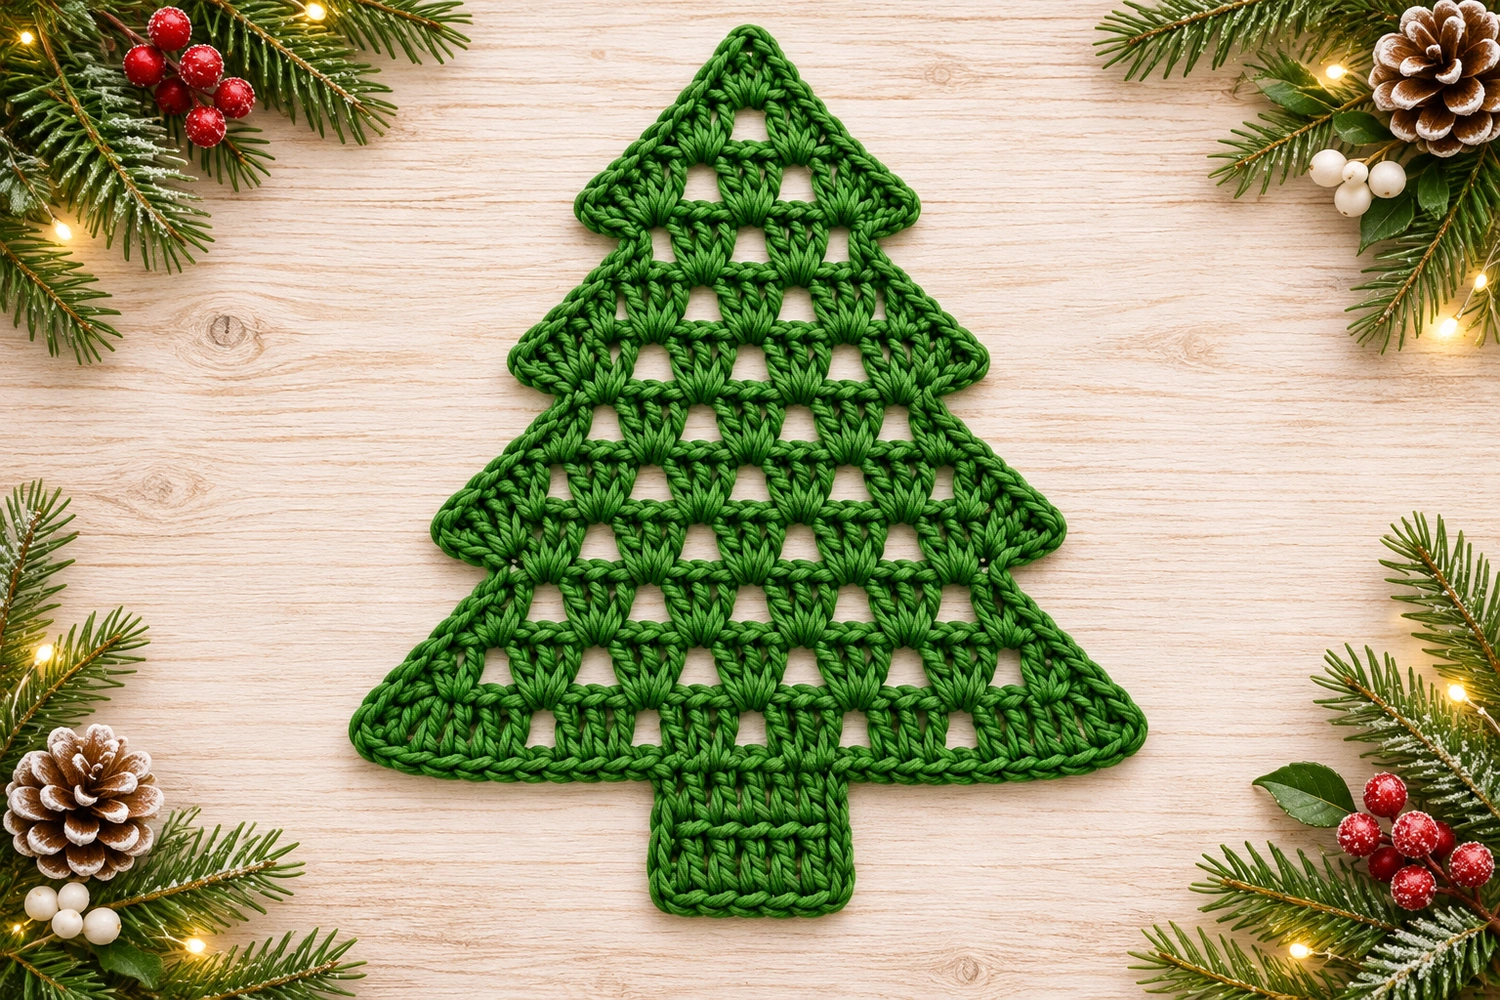
This is an independently written, image-inspired adaptation, not a transcription of the original chart. The supplied reference carries the name CraftswithMina; that name is credited here as it appears on the image, without claiming verified authorship. The stitch counts have been checked on paper, but a physical sample has not been crocheted. The generated diagrams are schematics; use the written instructions for exact construction.
Stepped Granny Christmas Tree: Materials and Finished Size
Use approximately 20–30 g green DK cotton, a 3 mm crochet hook, a blunt yarn needle, scissors, and removable markers. Yarn quantity and the estimated size of 17–21 cm high are planning estimates, not measured sample results. Use a hook that produces flexible fabric with clearly defined groups. The project suits a confident beginner familiar with chains, double crochet, and reading row counts. No stuffing, wire, star, beads, or separate branch pieces are needed.
Stepped Granny Christmas Tree: US Terms and How the Granny Groups Work
- Ch: chain. Sl st: slip stitch. Sc: single crochet. Dc: double crochet.
- Group: 3 separate dc worked into the same stitch or chain space. These are not three dc closed together.
- Ch-1 space: the opening beneath one chain between two groups. Insert the hook into the opening rather than through the chain’s top loops.
- Turn: rotate the work so you crochet back along the preceding row.
To work dc, yarn over, insert the hook into the indicated place, yarn over and pull up a loop; yarn over and pull through two loops twice. Every ch 2 at a row beginning gives height only and never counts as a stitch. Never work an extra group into the turning chain. Every gap between adjacent groups contains exactly ch 1.
Keep the beginning and ending dc of each row marked if necessary. The work grows from the top point downward. Rows alternate right and wrong sides, which is normal for a flat turned-row tree. Choose the side you prefer as the display side after blocking.
Stepped Granny Christmas Tree: 1. Start the Top Point
Row 1: Make a magic ring, ch 2, and work 3 dc into the ring. Pull the ring closed. Do not join into a circle. (1 group; 3 dc; no ch-1 spaces) Secure the ring tail by weaving it back through the stitch bases after several more rows.
Row 2: Ch 2, turn. Work 3 dc in the first dc of row 1, ch 1, then 3 dc in the last dc of row 1. Leave the middle dc unworked. (2 groups; 6 dc; 1 ch-1 space)
Stepped Granny Christmas Tree: 2. The Widening Row
You will use this instruction repeatedly. Ch 2 and turn. Work 3 dc in the first dc of the previous row. For each ch-1 space of the previous row, ch 1 and work 3 dc in that space. After the final old space, ch 1 and work 3 dc in the last dc of the previous row. Skip all other dc tops.
A widening row adds one group: two endpoint groups plus one group in every old gap. For example, a row with four groups has three gaps; the next widening row contains two endpoint groups plus three gap groups, making five groups. Do not work across the individual dc stitches between spaces.
Stepped Granny Christmas Tree: 3. The Inset Row That Makes a Branch Step
Use the inset row only for rows 5, 9, and 13. After finishing the preceding row, ch 1 and turn. Sl st into each of the first three dc and then into the first ch-1 space. These slip stitches move the hook inward and are not part of the new row count.
Ch 2 and work 3 dc in that first ch-1 space. Then work [ch 1, 3 dc in the next ch-1 space] until every old ch-1 space has been used. Stop after the group in the last old space. Leave the final outside group unworked. Do not add a group in either endpoint dc.
This produces one fewer group than the preceding row and leaves a small ledge at each side. At the end of the inset row, turn for the next widening row without crocheting back over the unworked outside group. The stepped side outline is intentional.
Stepped Granny Christmas Tree: 4. Complete All Four Branch Tiers
Follow the table in order. Each “widen” instruction means the complete widening row described above; each “inset” instruction means the complete inset row. Chain spaces are counted separately from dc.
| Row | Action | Groups | Dc | Ch-1 spaces |
|---|---|---|---|---|
| 1 | 3 dc into magic ring | 1 | 3 | 0 |
| 2 | 3 dc in first dc, ch 1, 3 dc in last dc | 2 | 6 | 1 |
| 3 | Widen | 3 | 9 | 2 |
| 4 | Widen; first branch tier ends | 4 | 12 | 3 |
| 5 | Inset over the 3 old gaps | 3 | 9 | 2 |
| 6 | Widen | 4 | 12 | 3 |
| 7 | Widen | 5 | 15 | 4 |
| 8 | Widen; second branch tier ends | 6 | 18 | 5 |
| 9 | Inset over the 5 old gaps | 5 | 15 | 4 |
| 10 | Widen | 6 | 18 | 5 |
| 11 | Widen | 7 | 21 | 6 |
| 12 | Widen; third branch tier ends | 8 | 24 | 7 |
| 13 | Inset over the 7 old gaps | 7 | 21 | 6 |
| 14 | Widen | 8 | 24 | 7 |
| 15 | Widen | 9 | 27 | 8 |
| 16 | Widen; fourth branch tier and tree base | 10 | 30 | 9 |
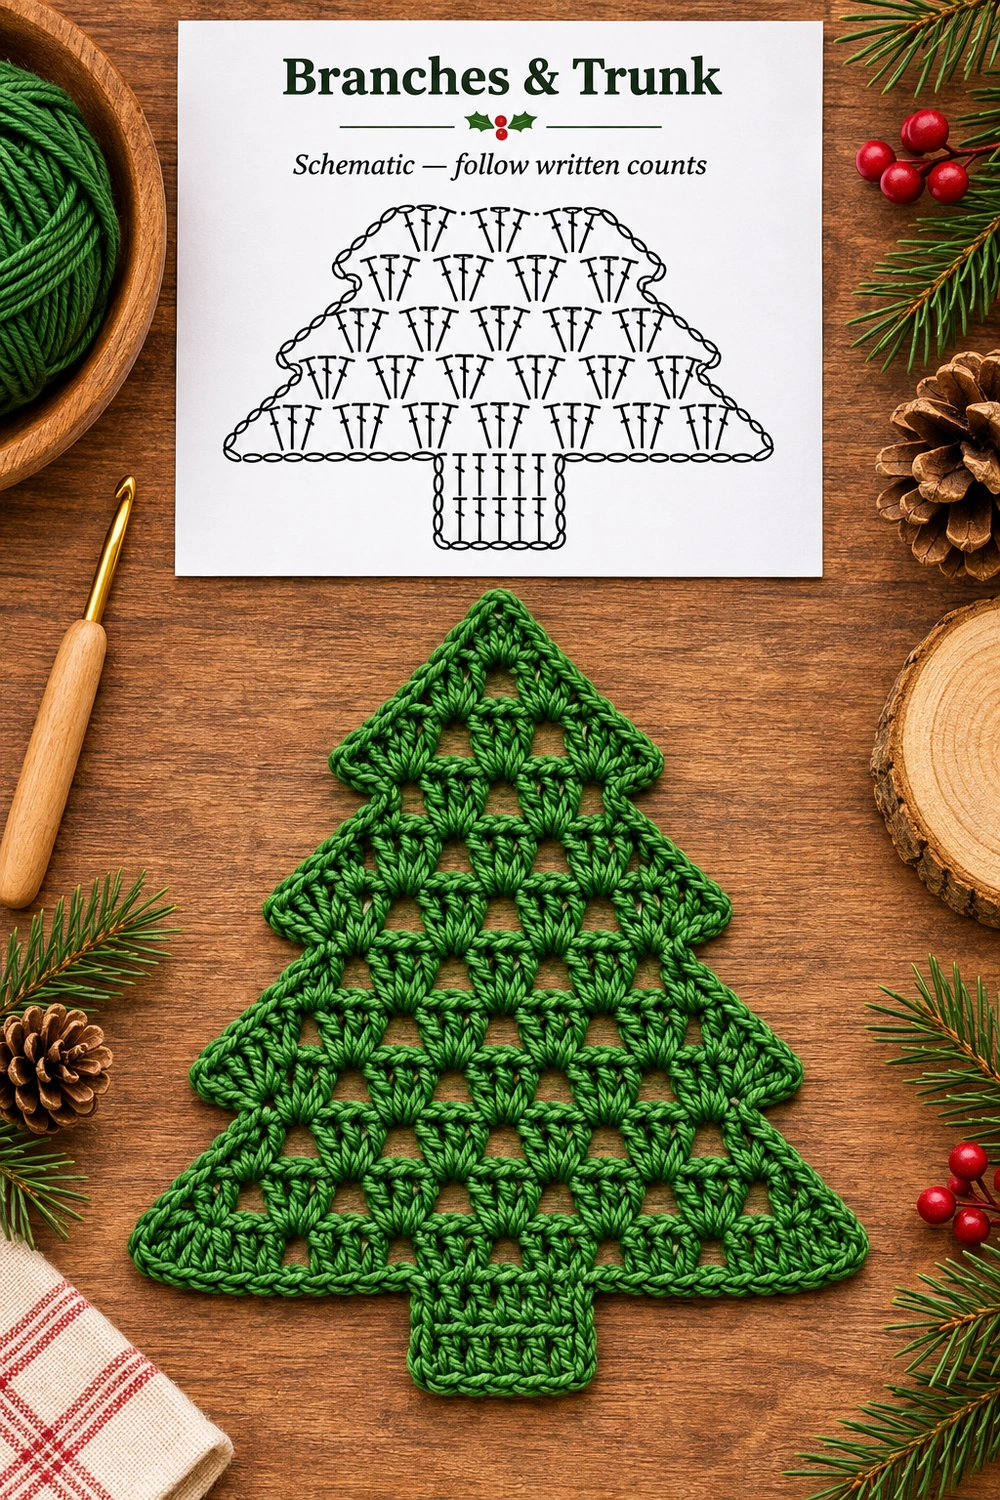
After row 16, fasten off. Lay the tree flat and check the four widest tier rows: 4, 8, 12, and 16. Their group counts should be 4, 6, 8, and 10. The three inset rows should each be one group narrower than the row directly above. Do not stitch the ledges together or fold the tiers over one another.
Stepped Granny Christmas Tree: 5. Center the Green Trunk
With the display side facing, count the ten groups along row 16 from left to right. Place markers in groups 5 and 6. The trunk foundation uses the three dc tops of group 5, the ch-1 space between groups 5 and 6, and the three dc tops of group 6. This gives seven foundation positions, centered across the base.
Trunk row T1: Join green in the first dc of group 5. Ch 2; dc in that same dc and the next two dc, work 1 dc into the middle ch-1 space, then dc in each of the three dc of group 6. Stop. (7 dc)
T2: Ch 2, turn, dc in each of the seven stitches. (7 dc)
T3: Ch 2, turn, dc in each of the seven stitches. (7 dc) Fasten off. There are no increases or decreases in the trunk. Weave its starting tail into the back of the join so the middle gap does not stretch open.
Stepped Granny Christmas Tree: 6. Add the Green Outline
Use the same green yarn. Keep the chosen display side facing throughout the outline round. Start in an outer bottom corner of the tree, away from the trunk. Ch 1 and follow the complete outer silhouette: around the trunk, across the remaining base, up one stepped side, over the top point, and down the other side.
- Across an exposed horizontal group: 1 sc in each dc top. Across an exposed ch-1 space: 1 sc in the space.
- Along a straight dc row-end: distribute 2 sc around the row-end post. Do not work into both the post and its turning chain as separate row ends.
- At an outward branch tip or bottom trunk corner: work (sc, ch 1, sc) in the corner location instead of the single sc that would normally sit there.
- At an inward branch notch or the two trunk shoulders: work 1 relaxed sl st at the deepest point, then continue sc along the next edge. Keep the notch open and defined.
- At the top point: work (sc, ch 2, sc) around the narrow foundation tip, catching the stitch bases securely.
At the trunk foundation, do not crochet across the seven stitches already used to attach the trunk. Follow down its outer side, across its seven bottom stitches, and up its other side before returning to the tree base. Work 2 sc around each of the three trunk row-ends on each vertical side. Join to the first sc with a sl st, fasten off, and weave in.
The outline is an edge treatment, so its total depends on how the row-end locations are distributed. Check that the same number of sc is used on matching left and right row-ends. If the outline ripples, remove it and reduce the number of stitches at crowded row ends; if it draws the fabric inward, loosen the tension before changing counts in the main tree.
Stepped Granny Christmas Tree: 7. Blocking and Finishing
Weave each tail through several matching stitches on the wrong side, reverse direction once, and trim. If permitted by the yarn label, dampen the piece and place it on a blocking mat. Pin the top point, the four pairs of branch tips, both base corners, and the trunk corners. Spread the granny spaces gently without stretching them into large holes. Check that the trunk lies on the vertical centerline. Let the tree dry fully before removing the pins.
Use the finished tree as an applique by sewing around the outlined edge with matching thread. To make an optional ornament, chain 24 in green, fasten off, and sew both ends securely behind the top point; the reference itself has no hanging loop. Do not add weight to the branch tips, which can distort the flat shape.
Stepped Granny Christmas Tree: Questions and Adjustments
Why did my row grow by two groups? Count the old gaps. A widening row uses every old gap once plus only two endpoint groups. An extra group worked into a turning chain is a common cause.
Why are there no branch steps? Rows 5, 9, and 13 must use only the old chain spaces. If you also work endpoint groups on these rows, you will make a plain triangle.
How can I make it larger? Use thicker yarn and a suitable larger hook for the entire tree, trunk, and outline. Keep the counts unchanged for the first attempt so the tiers retain their relationship. Finished measurements will change.
Can I change the trunk color? Yes, attach brown for T1–T3 and outline the trunk in brown before continuing the green tree outline, weaving in the extra color tails. Keep it green for the closest match to this reference.
How should I wash it? Follow the yarn label, wash gently, reshape all eight branch tips, and dry flat. Avoid hanging a wet piece, which can lengthen the spaces and pull the trunk out of alignment.
Stepped Granny Christmas Tree: Granny Christmas Tree Visual Guide
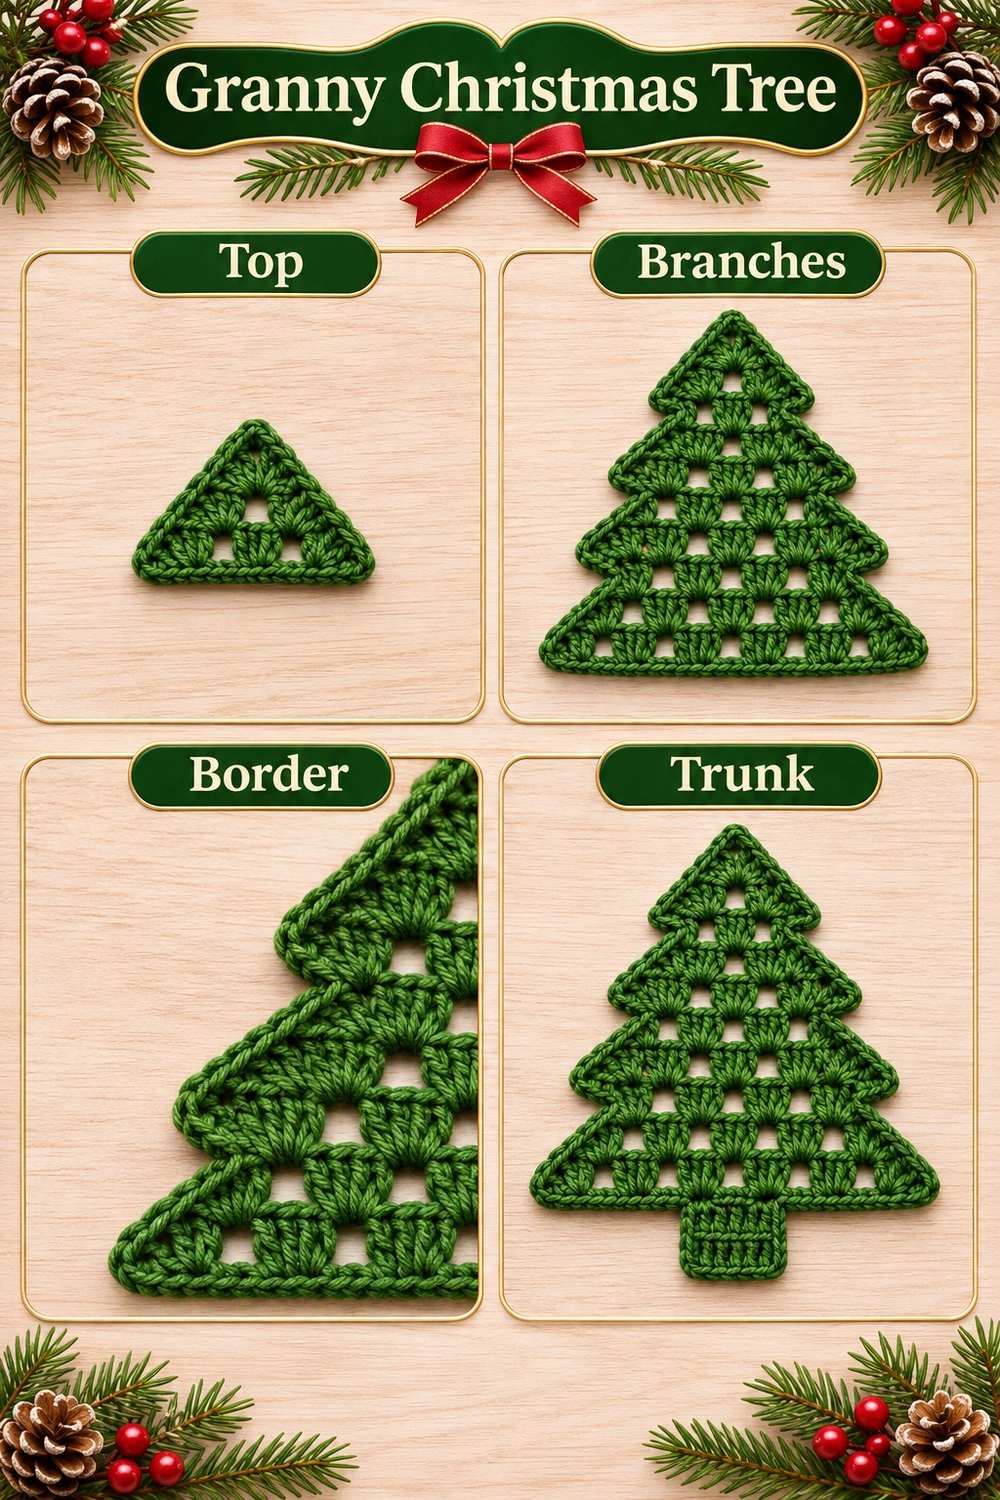
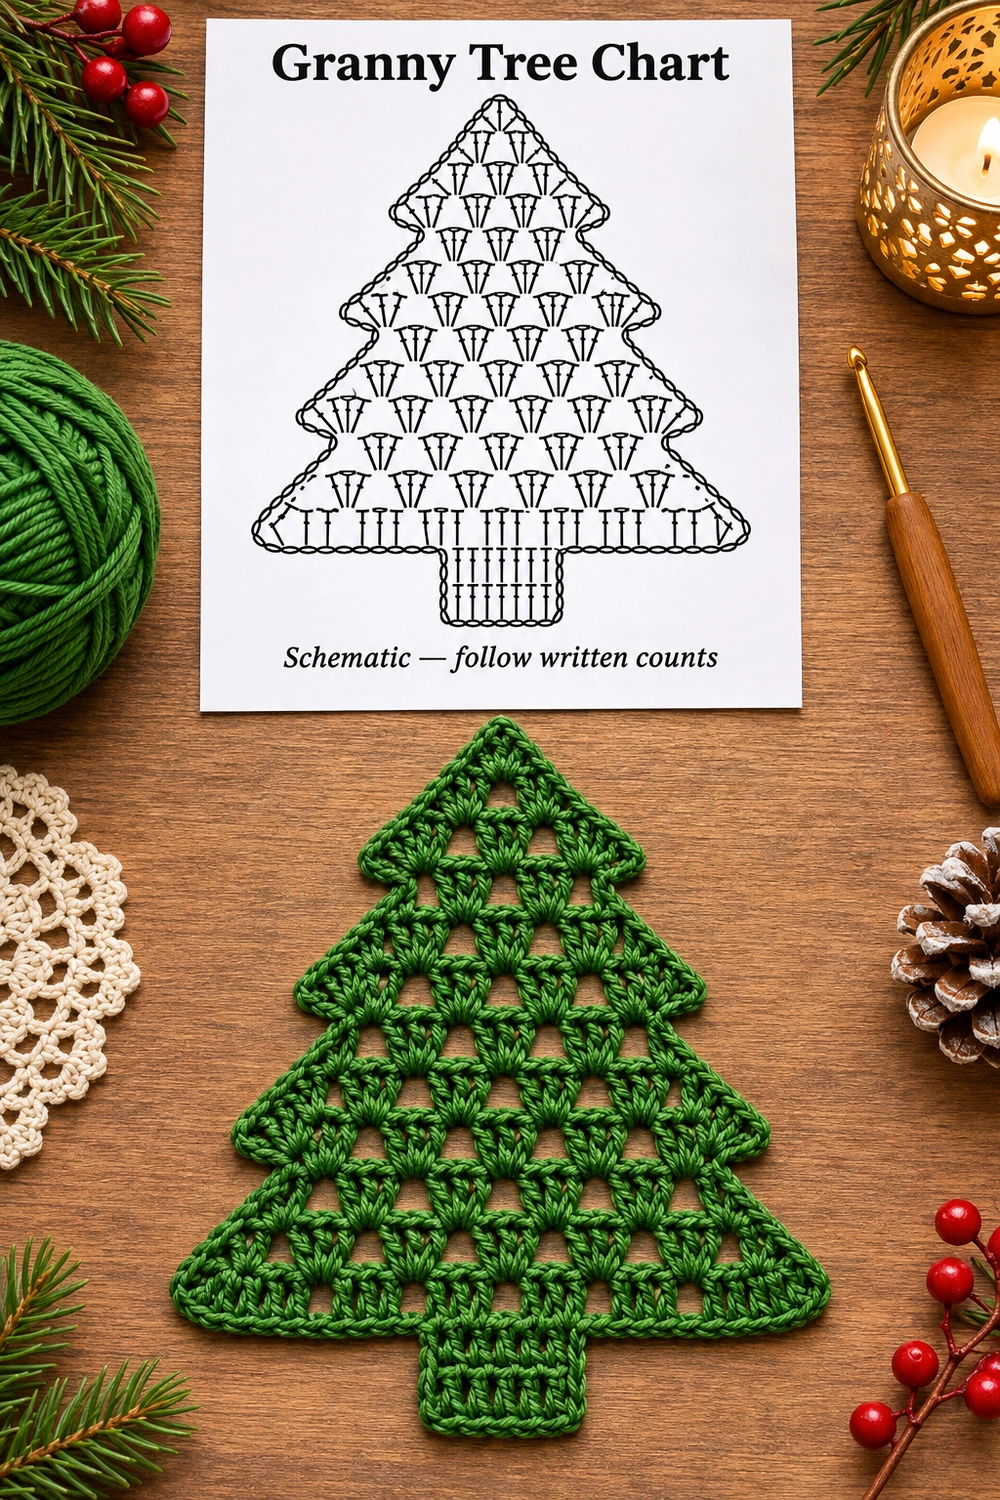
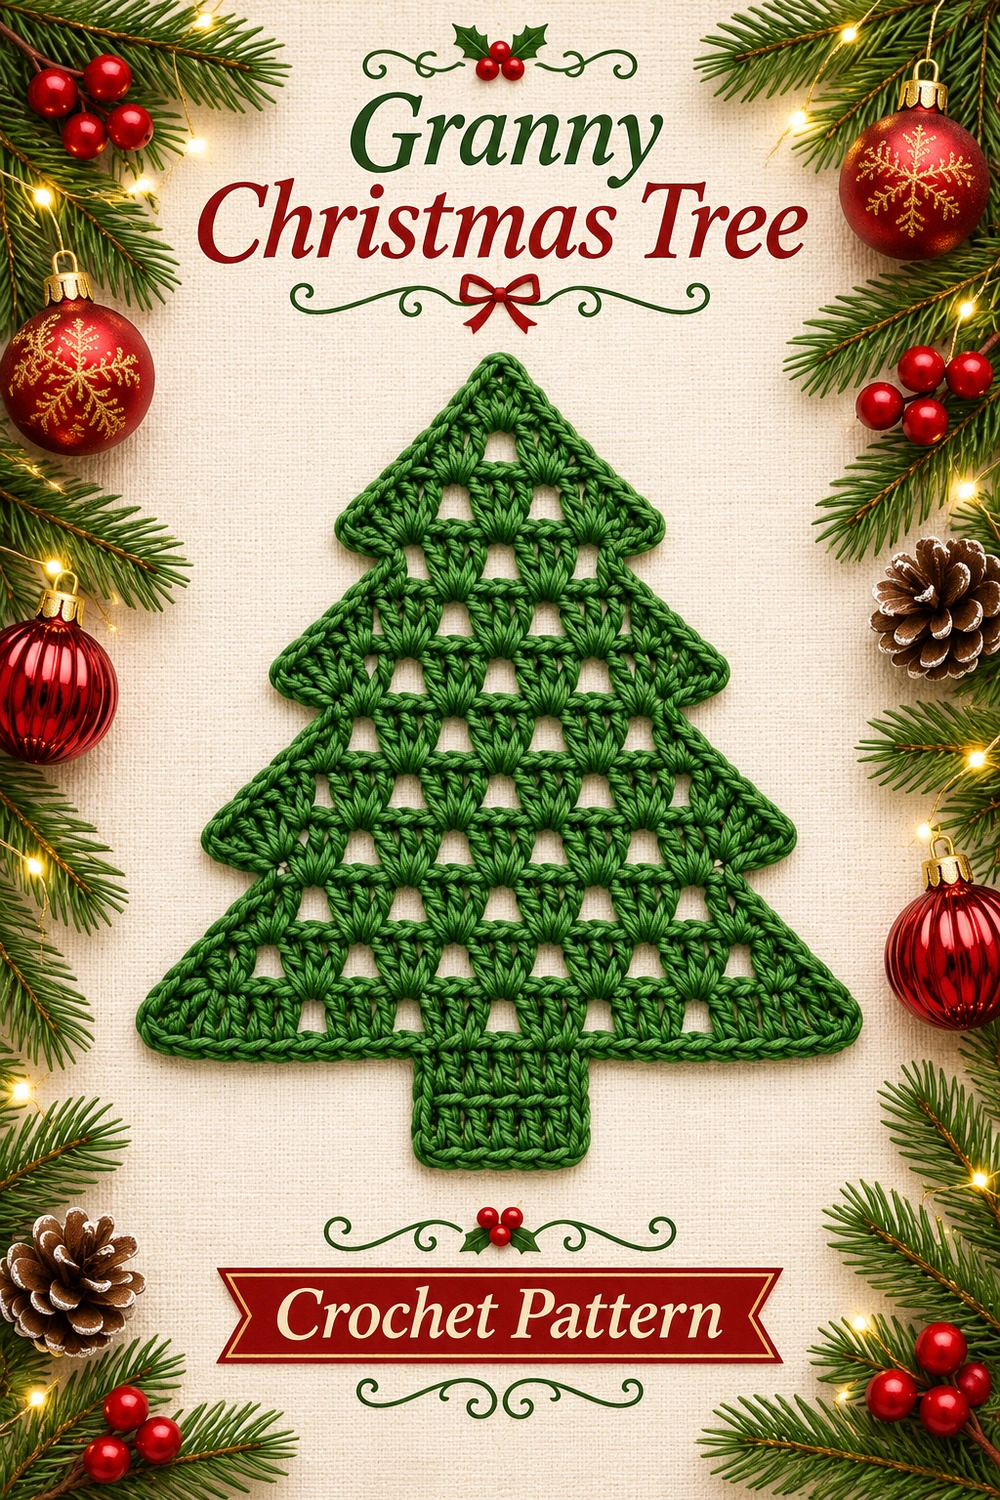
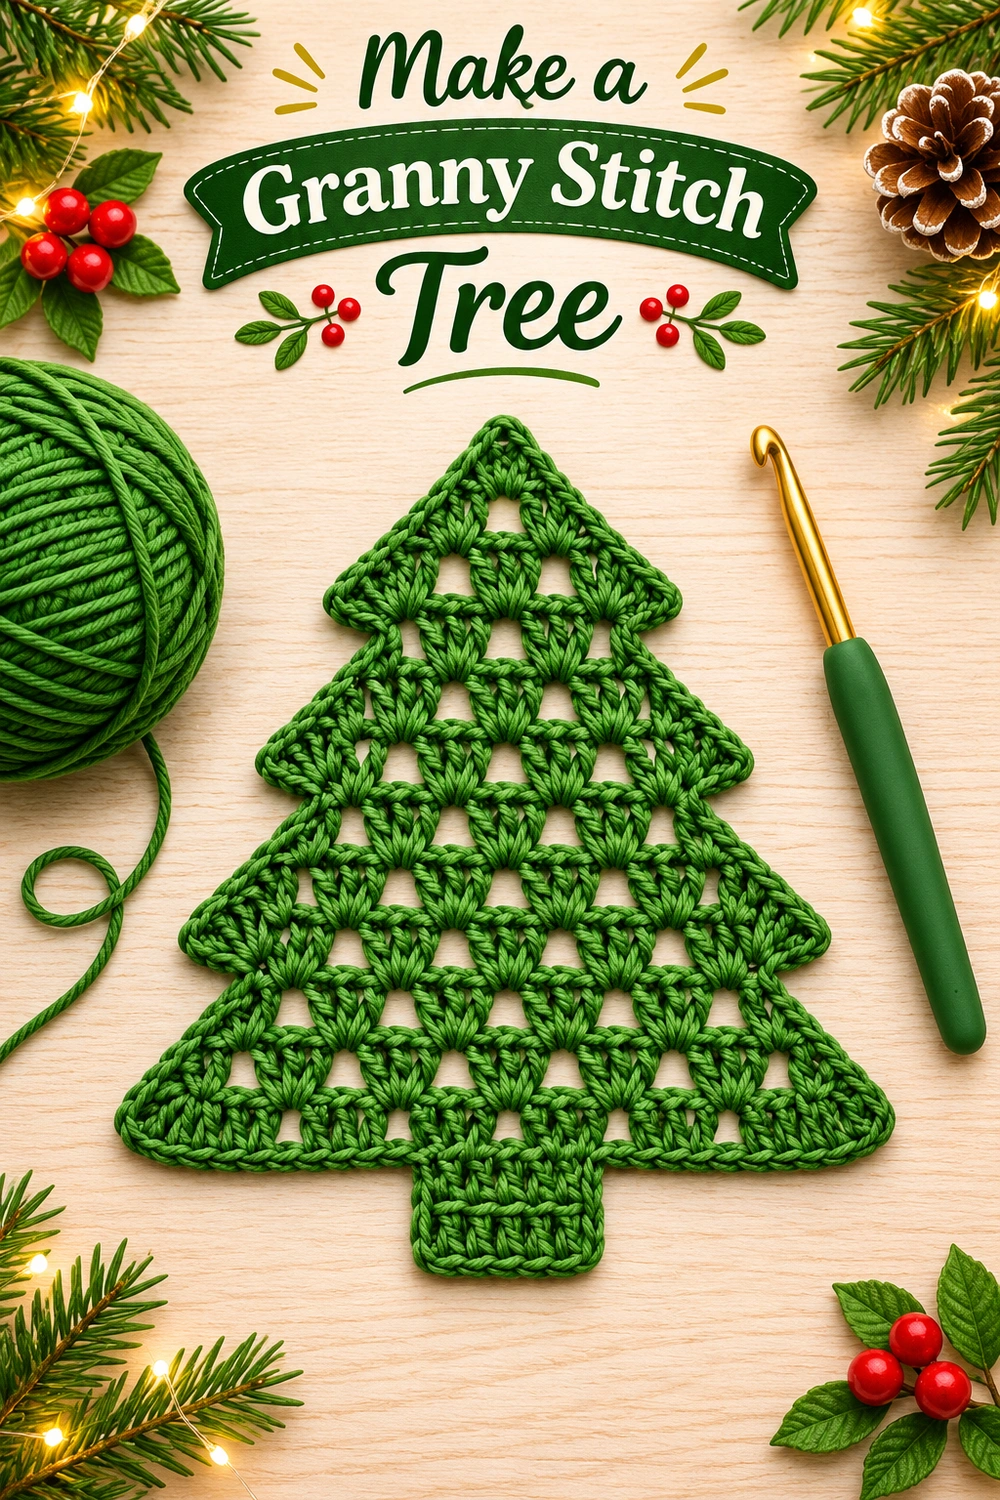
The tutorial shows the construction order. Both tabletop diagrams are generated schematics. For the four tiers and centered trunk, follow the row table and foundation positions above.

Stepped Granny Christmas Tree: More Projects and Stitch Help
For another seasonal project, explore the Christmas tree doll crochet pattern. For US stitch terminology, consult the Craft Yarn Council crochet abbreviations.