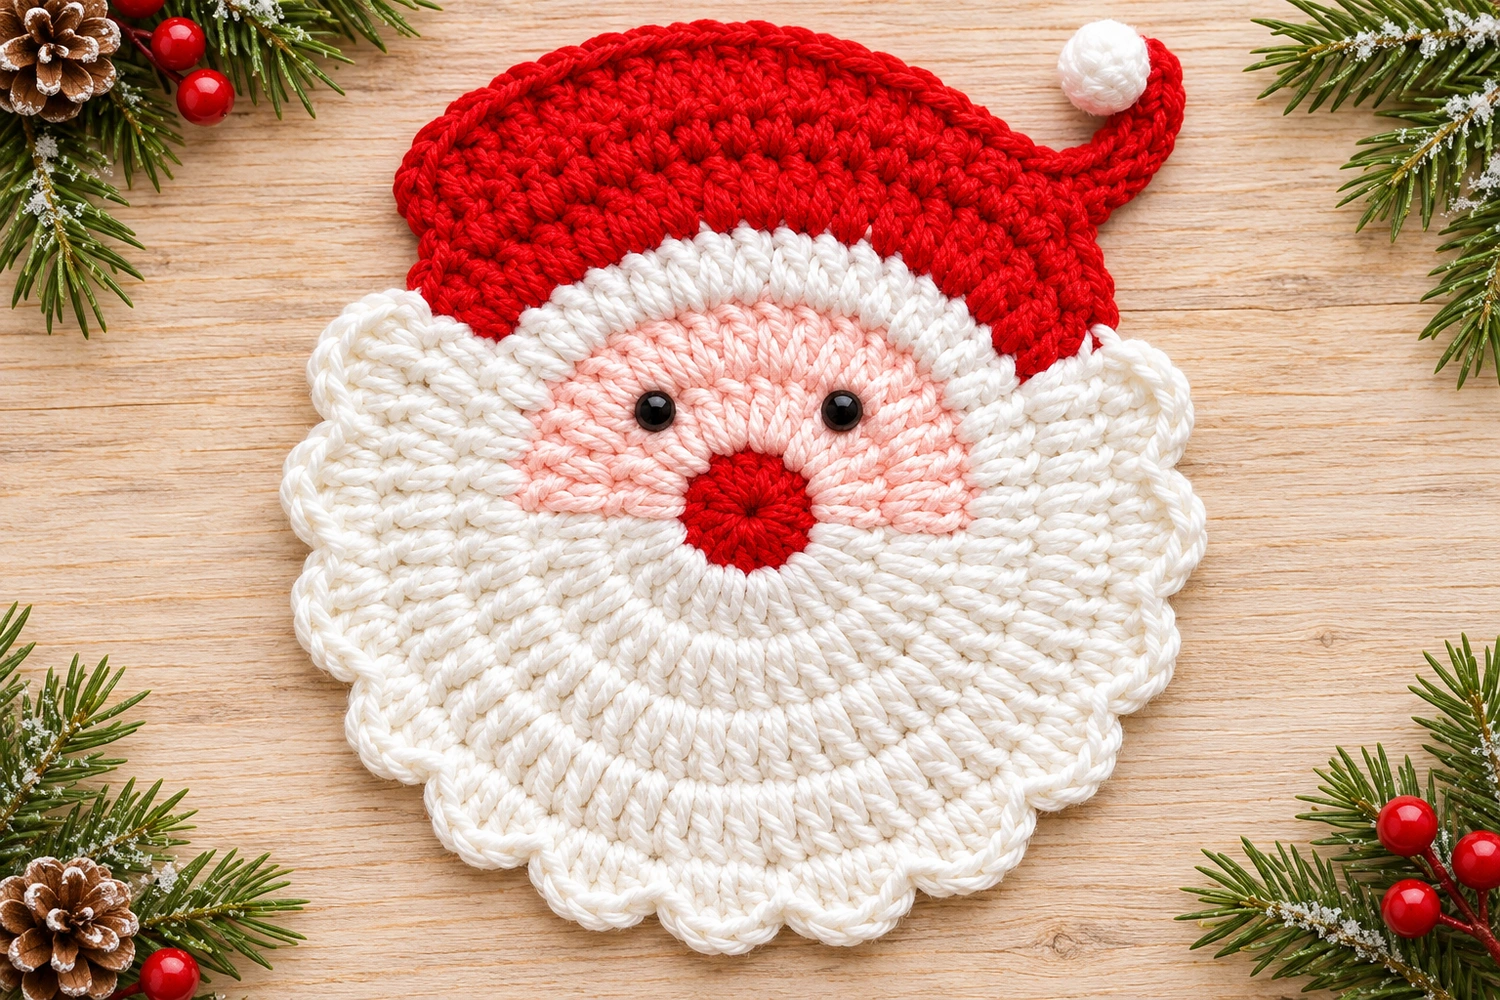
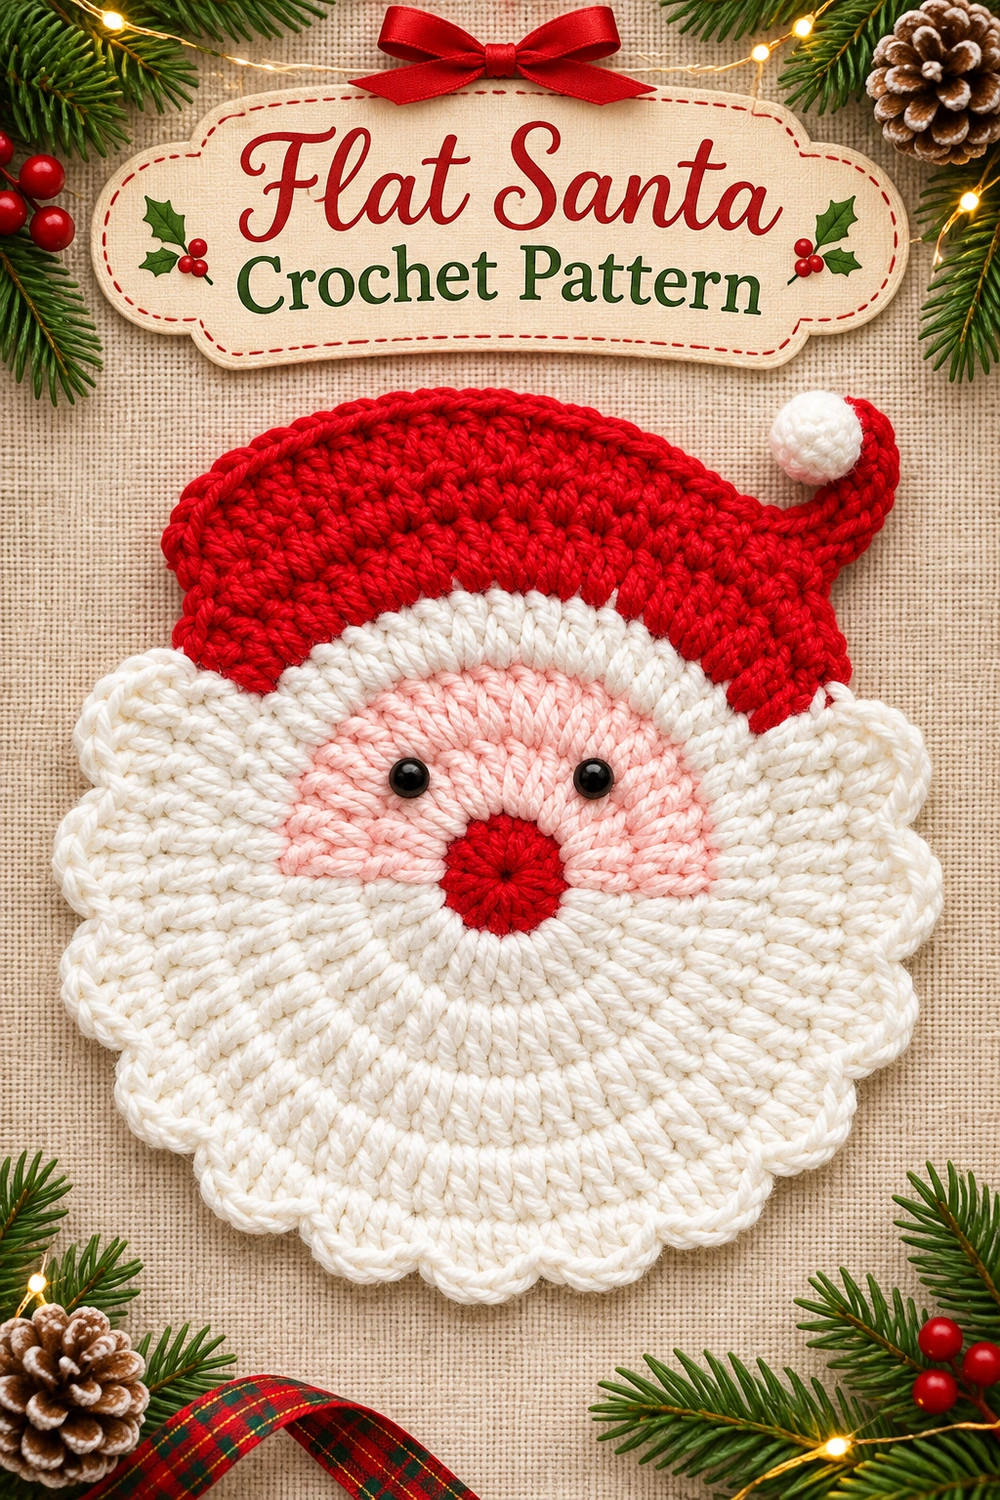
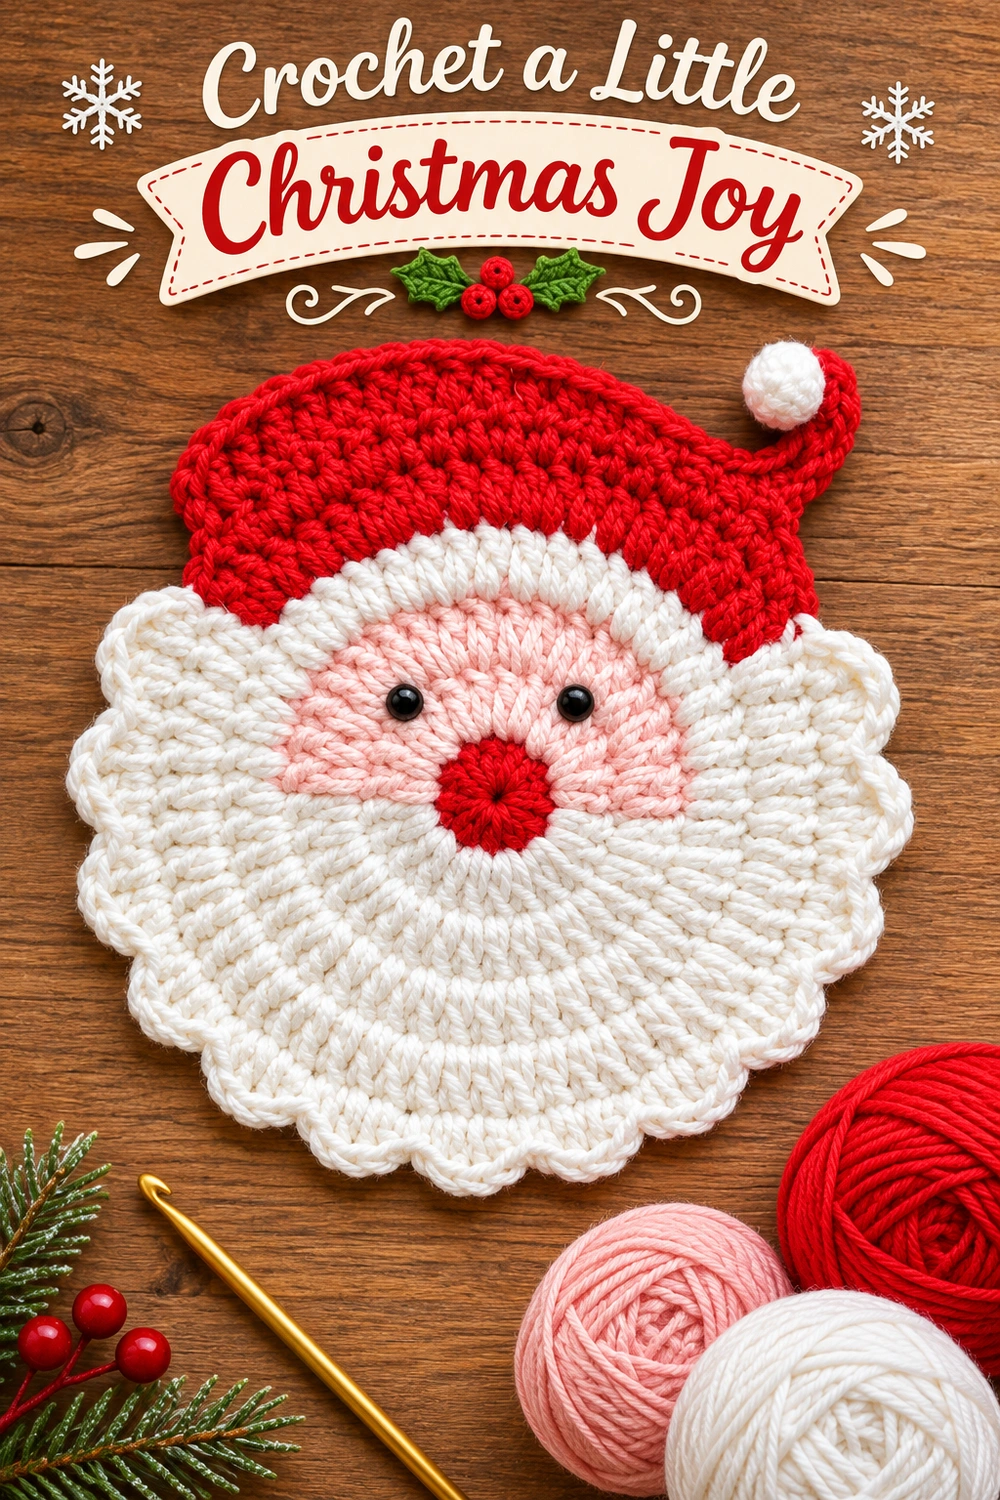
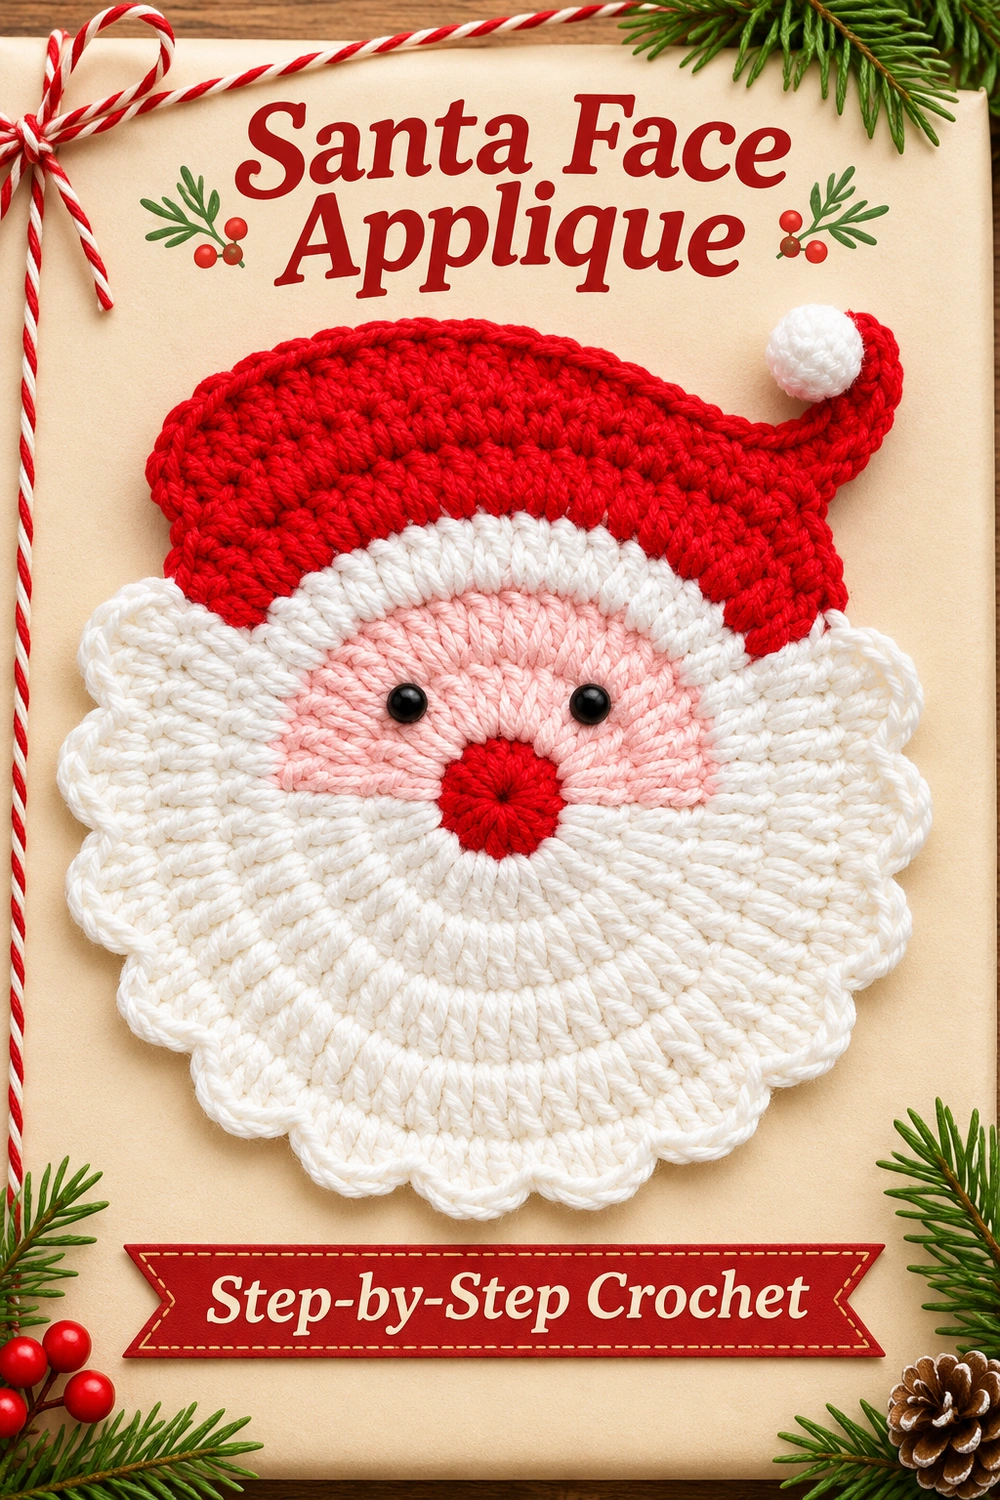
This Flat Santa Face Crochet Pattern creates a festive applique with a red center nose, pink upper face, broad white fan beard, and a curved red cap. The face is worked outward from the nose with color changes, then the beard is extended in rows. It stays unstuffed and can decorate a gift bag, garland, or Christmas display.
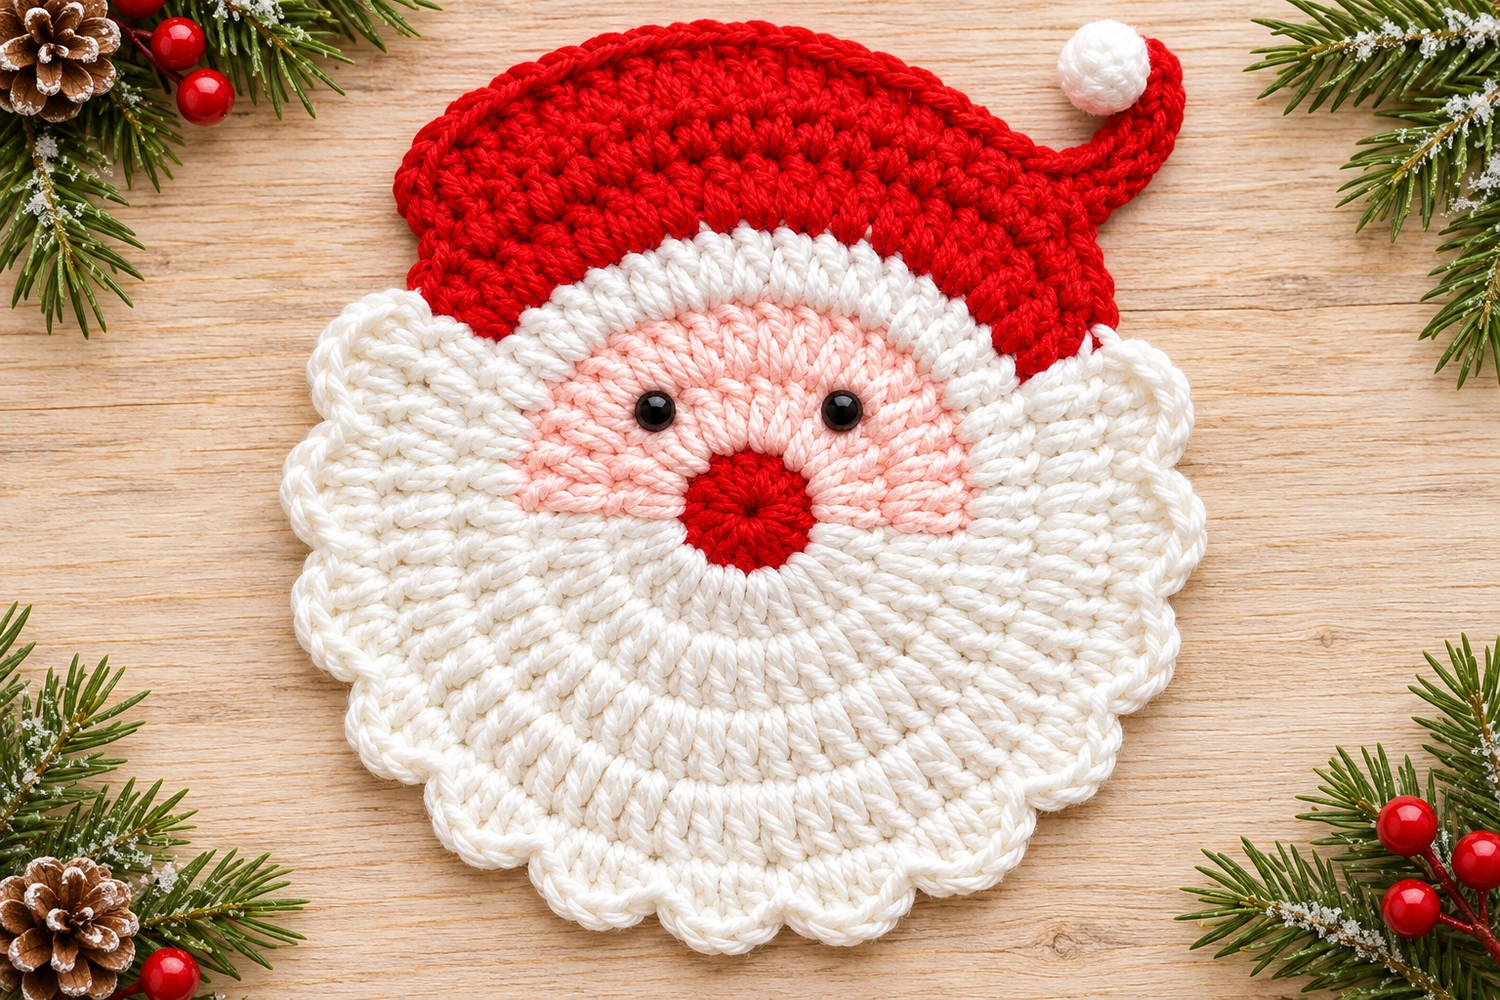
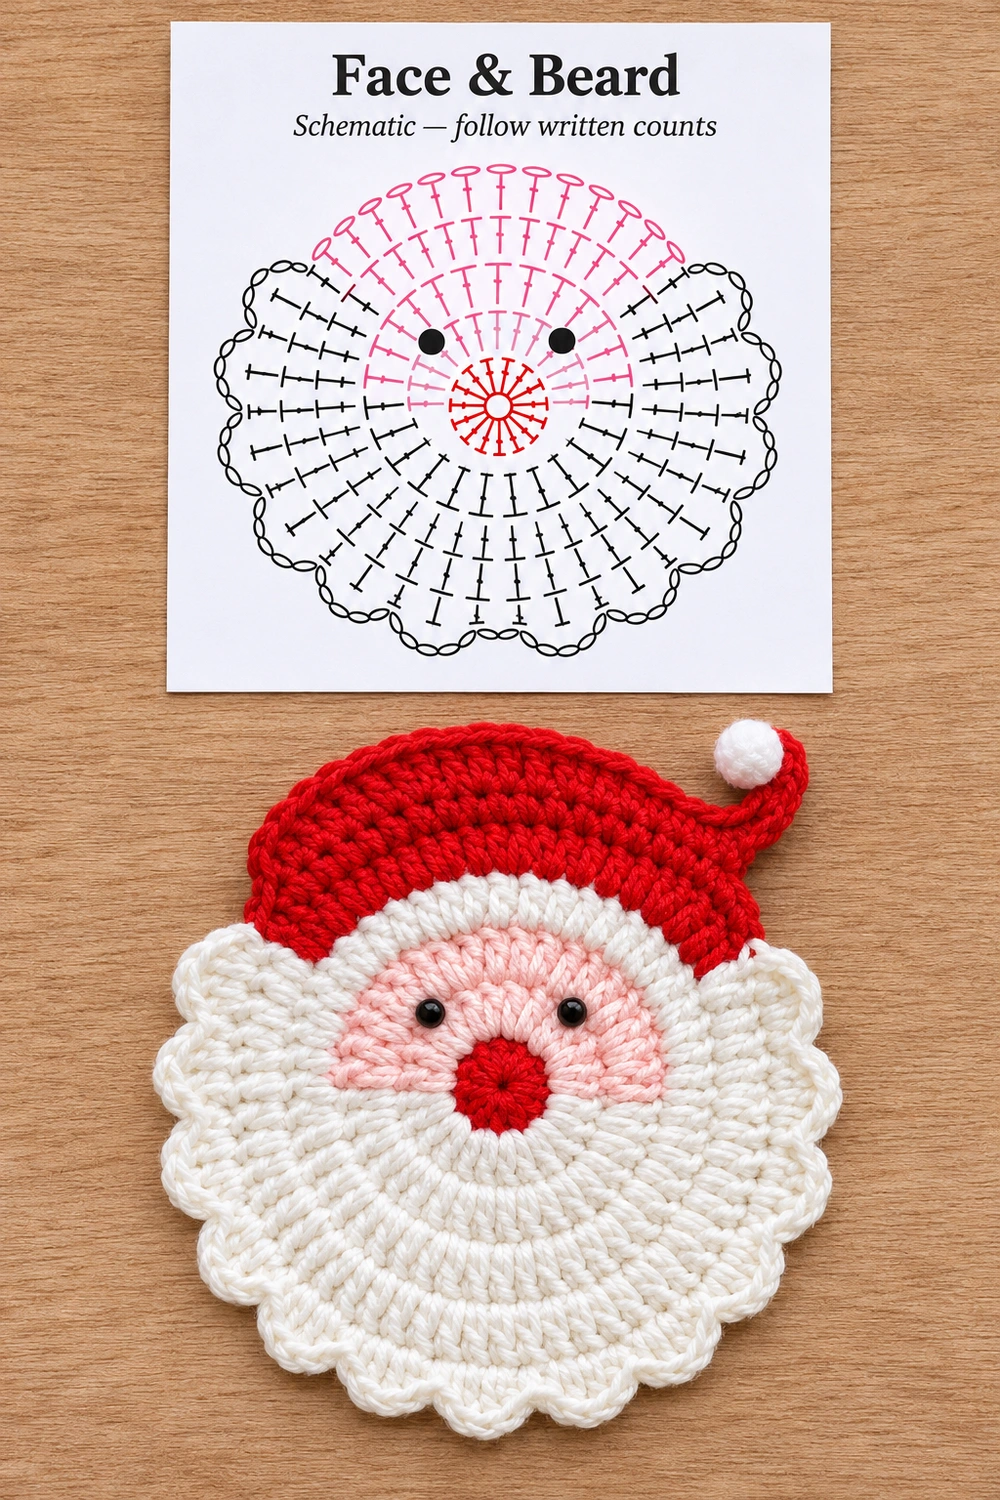
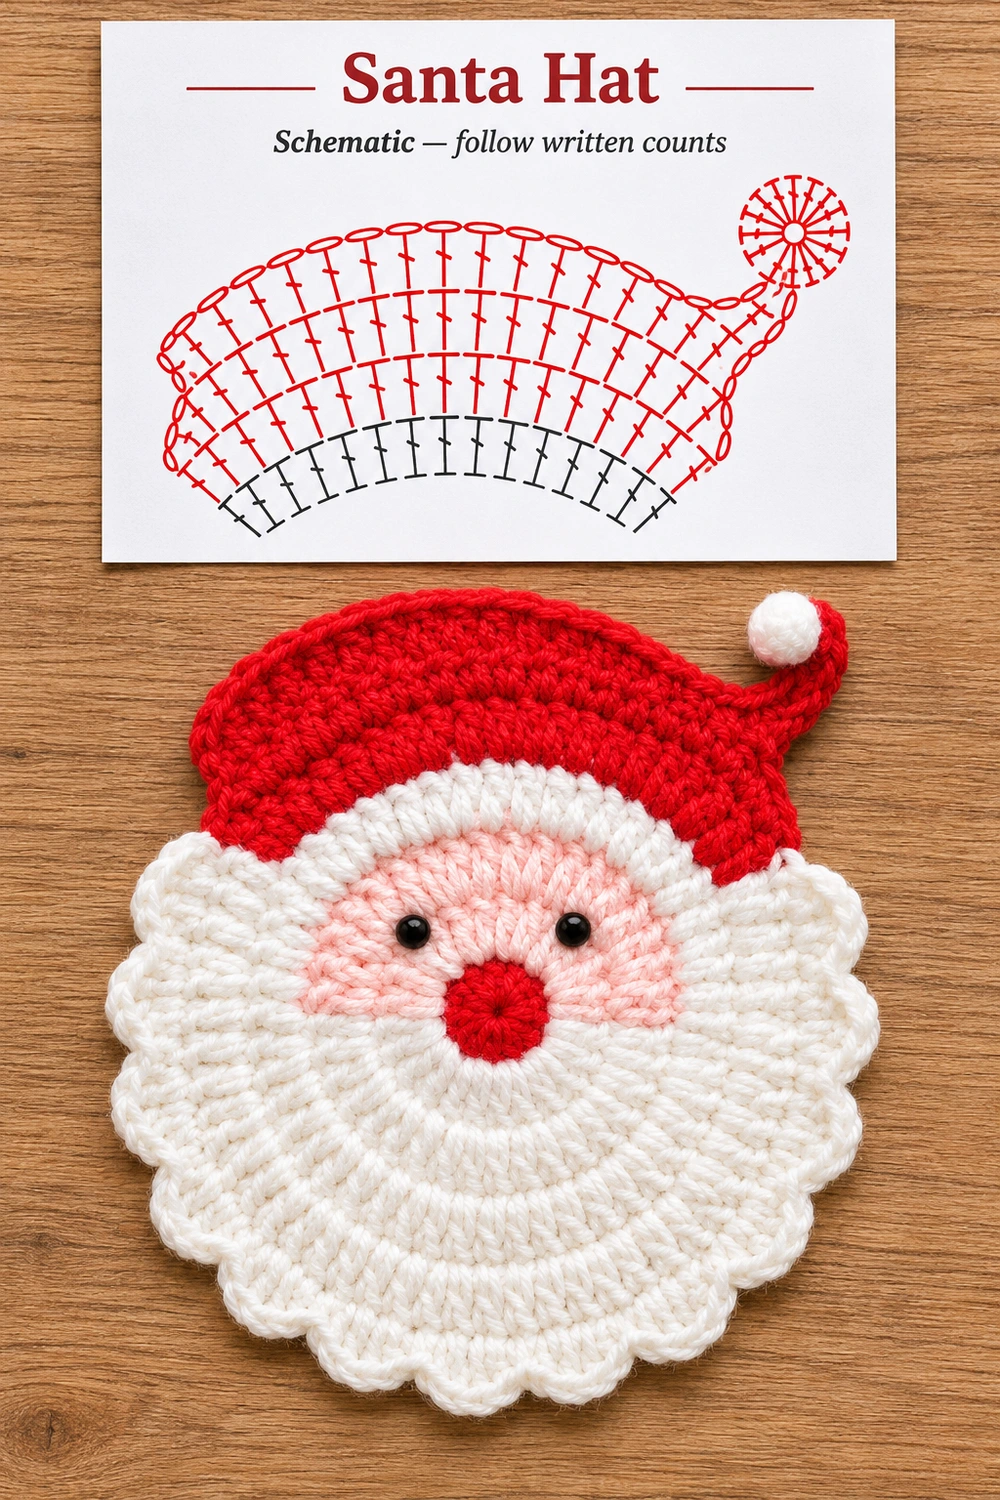
This recipe is an image-inspired adaptation. Its stitch arithmetic has been checked, but it has not been crocheted as a physical sample. Measurements are estimates. The generated charts are schematic illustrations; follow the written counts for construction.
Flat Santa Face: Materials and Planning
- Matching-weight DK cotton in white, red, and pale pink. Allow approximately 15 g white, 10 g red, and 5 g pink; amounts are estimates.
- A 3 mm hook as a starting point, a yarn needle, scissors, and removable markers.
- Black embroidery thread and a suitable needle for the eyes.
Estimated finished height is 13–16 cm, depending on yarn and tension. Use the same hook and yarn weight throughout. The skill level is confident beginner: you need joined rounds, color changes, double crochet increases and decreases, and shell edging. No stuffing or backing is required for the basic applique. Work a small double crochet swatch first; the fabric should lie flat and remain flexible.
Flat Santa Face: US Crochet Terms
Ch = chain; sl st = slip stitch; sc = single crochet; hdc = half double crochet; dc = double crochet; tr = treble crochet; dc inc = 2 dc in one stitch; dc2tog = double crochet two stitches together; st = stitch. Brackets contain the repeat. Counts exclude turning chains and joining slip stitches.
To make a dc: yarn over, insert the hook, yarn over and pull up a loop; yarn over and draw through two loops twice. For tr, yarn over twice before insertion, then draw through two loops three times. For dc2tog, make an unfinished dc in each of the next two stitches, stopping before the final pull-through of each. Yarn over and draw through all three loops remaining on the hook. Two old stitches become one new stitch.
Start each round or dc row with ch 2 for height; this ch 2 never counts as a stitch. Place the first dc in the first actual stitch, not the joining slip stitch. Face rounds are joined and are not turned. Beard and hat rows are turned as instructed.
Flat Santa Face: 1. Red Center Nose
Make a magic ring in red. Ch 2, work 12 dc into the ring, pull the ring closed, and sl st into the top of the first dc. (12 dc) Fasten off. The red circle is the visible flat nose; do not cover it with another nose or stuff it.
Lay the circle with the right side facing you. Mark a run of six consecutive stitches as the upper half and the other six as the lower half. Put the boundary between the two halves at the left and right sides of Santa’s nose. The join can sit at one of these boundaries.
Flat Santa Face: 2. Pink and White Face Rounds
Join pink in the first marked upper-half stitch. All three rounds below begin at this same upper/lower boundary. Use a separate pink and white strand. Do not carry white under the entire pink section or pink under the beard. At each change, complete the last pull-through of the preceding dc with the new color. Keep the inactive strand at the wrong side near its own color boundary. Leave the strands slightly relaxed when lifting them to the next round so the seam does not pucker.
| Round | Pink upper half | White lower half | Total |
|---|---|---|---|
| 2 | Ch 2; 2 dc in each of the 6 upper red stitches: 12 pink dc | 2 dc in each of the 6 lower red stitches: 12 white dc | 24 |
| 3 | Ch 2; [1 dc, dc inc] 6 times over the 12 pink stitches: 18 pink dc | [1 dc, dc inc] 6 times over the 12 white stitches: 18 white dc | 36 |
| 4 | Ch 2; [2 dc, dc inc] 6 times over the 18 pink stitches: 24 pink dc | [2 dc, dc inc] 6 times over the 18 white stitches: 24 white dc | 48 |
At the end of each round, change back to pink on the last pull-through of the final white dc, then join to the first pink dc with a sl st. After round 4, fasten off both colors and weave in the ends on their own colored areas. Count the pink and white halves separately before continuing. Place markers in the first and last white stitches of round 4; the beard is worked only over these 24 stitches.
Flat Santa Face: 3. Extend the White Fan Beard
With the right side facing, join fresh white in the first marked white stitch of round 4. Work along the lower half toward the other marker. Do not work into any pink stitches.
| Beard row | Instructions | Count |
|---|---|---|
| B1 | Ch 2; [3 dc, dc inc] 6 times over the 24 white stitches | 30 |
| B2 | Ch 2, turn; [4 dc, dc inc] 6 times | 36 |
| B3 | Ch 2, turn; [5 dc, dc inc] 6 times | 42 |
| B4 | Ch 1, turn; [sl st in next st, skip 2 sts, 5 dc in next st, skip 2 sts] 7 times | 7 shells and 7 sl sts |
Each shell repeat consumes exactly six stitches of B3: one slip-stitch anchor, two skipped stitches, one shell stitch, and two skipped stitches. Seven repeats use all 42 stitches. After the final two skipped stitches, anchor with a sl st into the adjacent row-end corner, not into an extra B3 stitch. Fasten off and weave in. The seven shells form the bottom curved edge.
The beard grows outward from the white lower half of the face. Its two straight row-end edges rise toward the cheeks. Do not sew a separate beard over the red center; the nose should remain visible.
Flat Santa Face: 4. White Side Whiskers — Make Two
These little fans soften the beard’s upper corners. In white, ch 4. Work all of the following into the fourth chain from the hook: 1 dc, 3 tr, 1 dc, ch 3, sl st. The first three skipped chains form the first side of the fan; the final ch 3 forms the other. Fasten off with a 25 cm tail. Make a second fan the same way.
Pin each fan’s narrow foundation point at a side boundary of the pink face, near round 3. Spread the taller treble stitches outward and upward, overlapping the beard’s straight side edge. Sew the narrow point and inner lower edge securely, leaving the outer scallop free. Mirror the placement on the opposite side.
Flat Santa Face: 5. White Hat Band
Return the work to a right-side-facing position. Join white in the first pink stitch of face round 4. Ch 2 and dc in each of the 24 pink stitches only. (24 dc) Fasten off. This single row forms the curved white band across the forehead. The red hat begins in the tops of these 24 stitches. Leave the two side whiskers clear of the working edge.
Flat Santa Face: 6. Wide Red Cap
Join red at one end of the white band with the right side facing. After every row, count the stitches before turning. The cap is flat and open along its outer edge; it is not a stuffed cone.
| Hat row | Instructions | Count |
|---|---|---|
| H1 | Ch 2; dc in each white band stitch | 24 |
| H2 | Ch 2, turn; dc2tog, 20 dc, dc2tog | 22 |
| H3 | Ch 2, turn; dc2tog, 18 dc, dc2tog | 20 |
| H4 | Ch 2, turn; dc2tog, 16 dc, dc2tog | 18 |
Fasten off. Lay Santa facing upward to choose the upper-right corner as the curved tip location. This avoids relying on handedness or row direction. Join fresh red to that H4 corner.
Flat Santa Face: 7. Curved Hat Tip and Red Outline
Ch 10. Starting in the second chain from the hook, work sl st in the first chain, sc in the next, hdc in the next, dc in each of the next two chains, and tr in each of the final four chains. (9 stitches along the chain) Sl st back into the same H4 corner to anchor the wide base. The narrow chain tip points outward; curl it upward gently with your fingers.
Fasten off with a sewing tail. Tack the wide base to the two nearest H4 stitches to keep it lying flat. If necessary, curve the narrow end upward and add one tiny red tack through the back of the tip and nearby hat edge. Do not fold the whole cap in half.
For a tidy red outline, join red at the left lower corner of the cap. Ch 1; work 2 sc around each dc row-end up the left side (8 sc), then 1 sc in each of the 18 H4 stitches across the top. At the tip base, sl st into the base corner and work 9 relaxed slip stitches along the unused underside loops of its chain to the narrow end. Fasten off. The right side of the tip retains its graduated crochet stitches. Rejoin red at the right lower cap corner and work 2 sc around each of the four row-ends up toward the tip base (8 sc); fasten off. Keep all edging stitches loose enough that the cap remains flat.
Flat Santa Face: 8. Small White Pom-Pom
For a crochet pom-pom, work 6 sc into a white magic ring. Round 2: sc in each stitch (6). Cut a 25 cm tail and thread through the front loops of the six stitches. Pull closed to form a tiny rounded nub; no stuffing is needed. Sew it to the narrow red tip with several passes through both the nub and the tip. Keep the finishing knot on the back and bury the tail securely.
Flat Santa Face: 9. Embroider the Eyes
Pin two eye positions on the pink upper half, one on each side of the vertical centerline. Begin around the boundary between face rounds 2 and 3, about four to six stitch widths apart. Check that both eyes sit at the same height above the red nose and below the white band. Adjust the pins before stitching.
With black embroidery thread, make a small circle of close satin stitches at each position, passing through the crochet fabric without drawing it tight. Keep each eye approximately 3–4 mm across. Secure on the back and weave the thread through several stitches. Embroidery preserves the flat back; the reference’s small black eyes can be represented without plastic posts.
Flat Santa Face: 10. Blocking, Display, and Troubleshooting
Weave all tails into matching-color stitches on the reverse. Lightly dampen the applique if the yarn label permits. Pin the lower fan into a smooth semicircle, distribute the seven shells, straighten the white band, and curve the hat tip upward. Let dry completely. Do not stretch the pink face until its stitches open.
If the circle cups: check the round counts 12, 24, 36, and 48 and confirm that the joining slip stitch was not counted. If counts are correct, loosen your tension or try a slightly larger hook on a new sample. If the color boundary puckers: loosen the vertical strand carried between rounds. If the beard ripples excessively: check that each increase row has exactly six increases. If shells pull inward: keep slip stitches and skipped-stitch spans relaxed.
For an applique, sew the outer edges to a fabric item with matching thread, supporting the hat tip and whiskers without crushing the shells. For a hanging decoration, attach an optional white ch-24 loop behind the center of the hat band, sewing each end through several stitches. Check its balance before fastening. Keep small ornaments and hanging loops out of reach of babies and young children.
Flat Santa Face Visual Guide
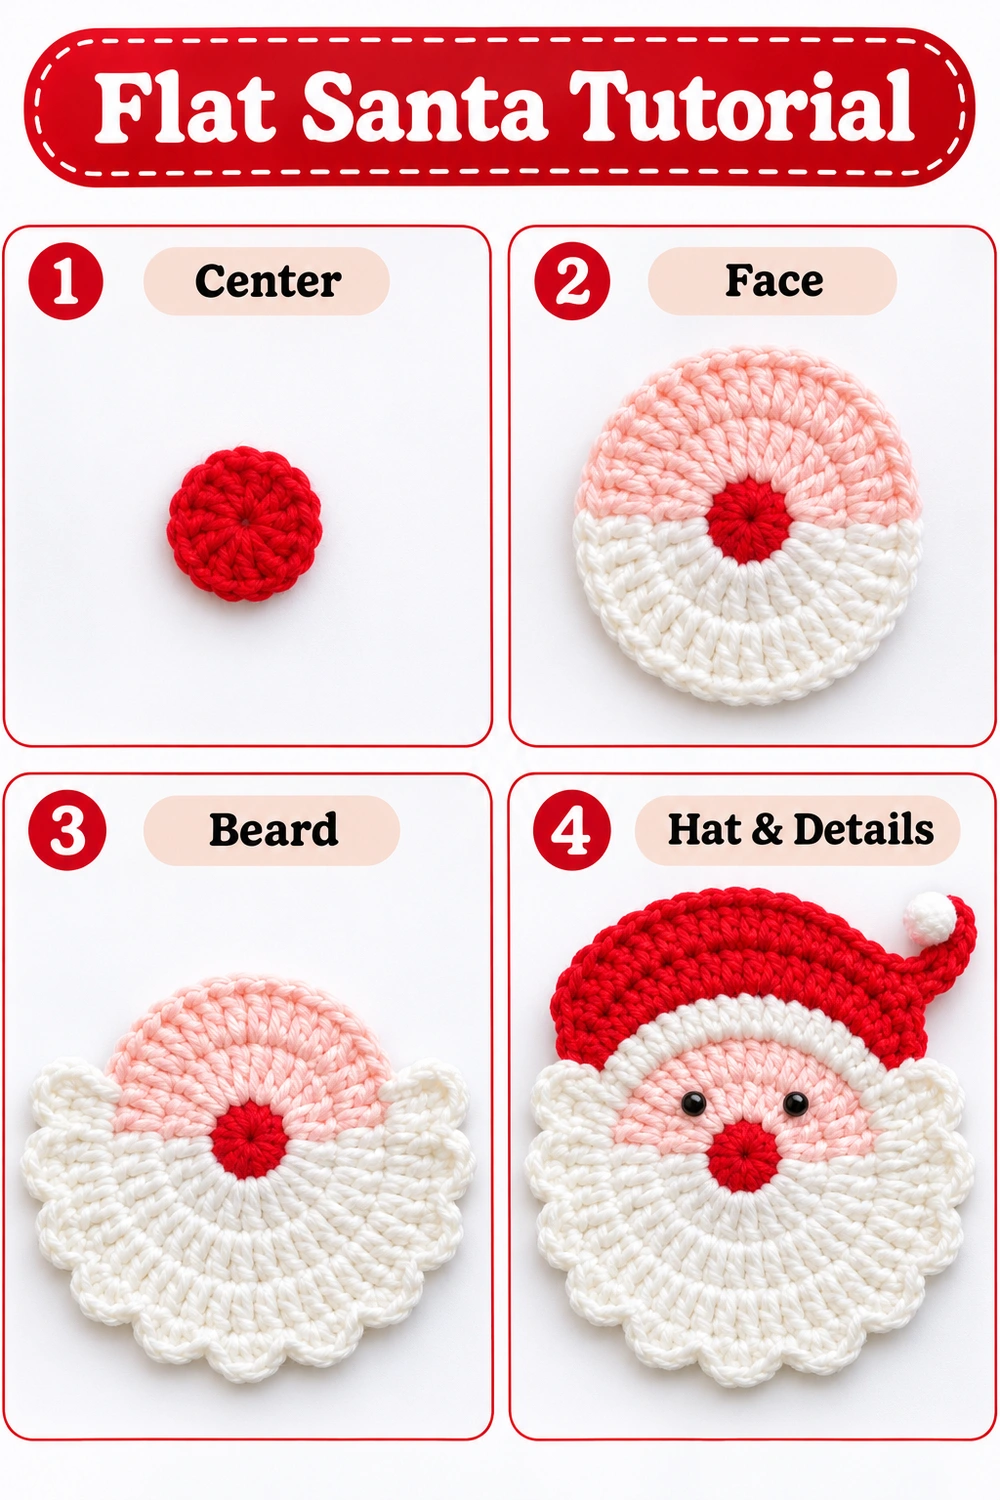
The two tabletop diagrams show the face/beard and hat structure. They are generated schematics, not a tested substitute for the written instructions. Use the tables above for exact stitch counts, color changes, and row placement.
Flat Santa Face: More Projects and Stitch Help
For another seasonal project, explore the Christmas tree doll crochet pattern. For US stitch terminology, consult the Craft Yarn Council crochet abbreviations.